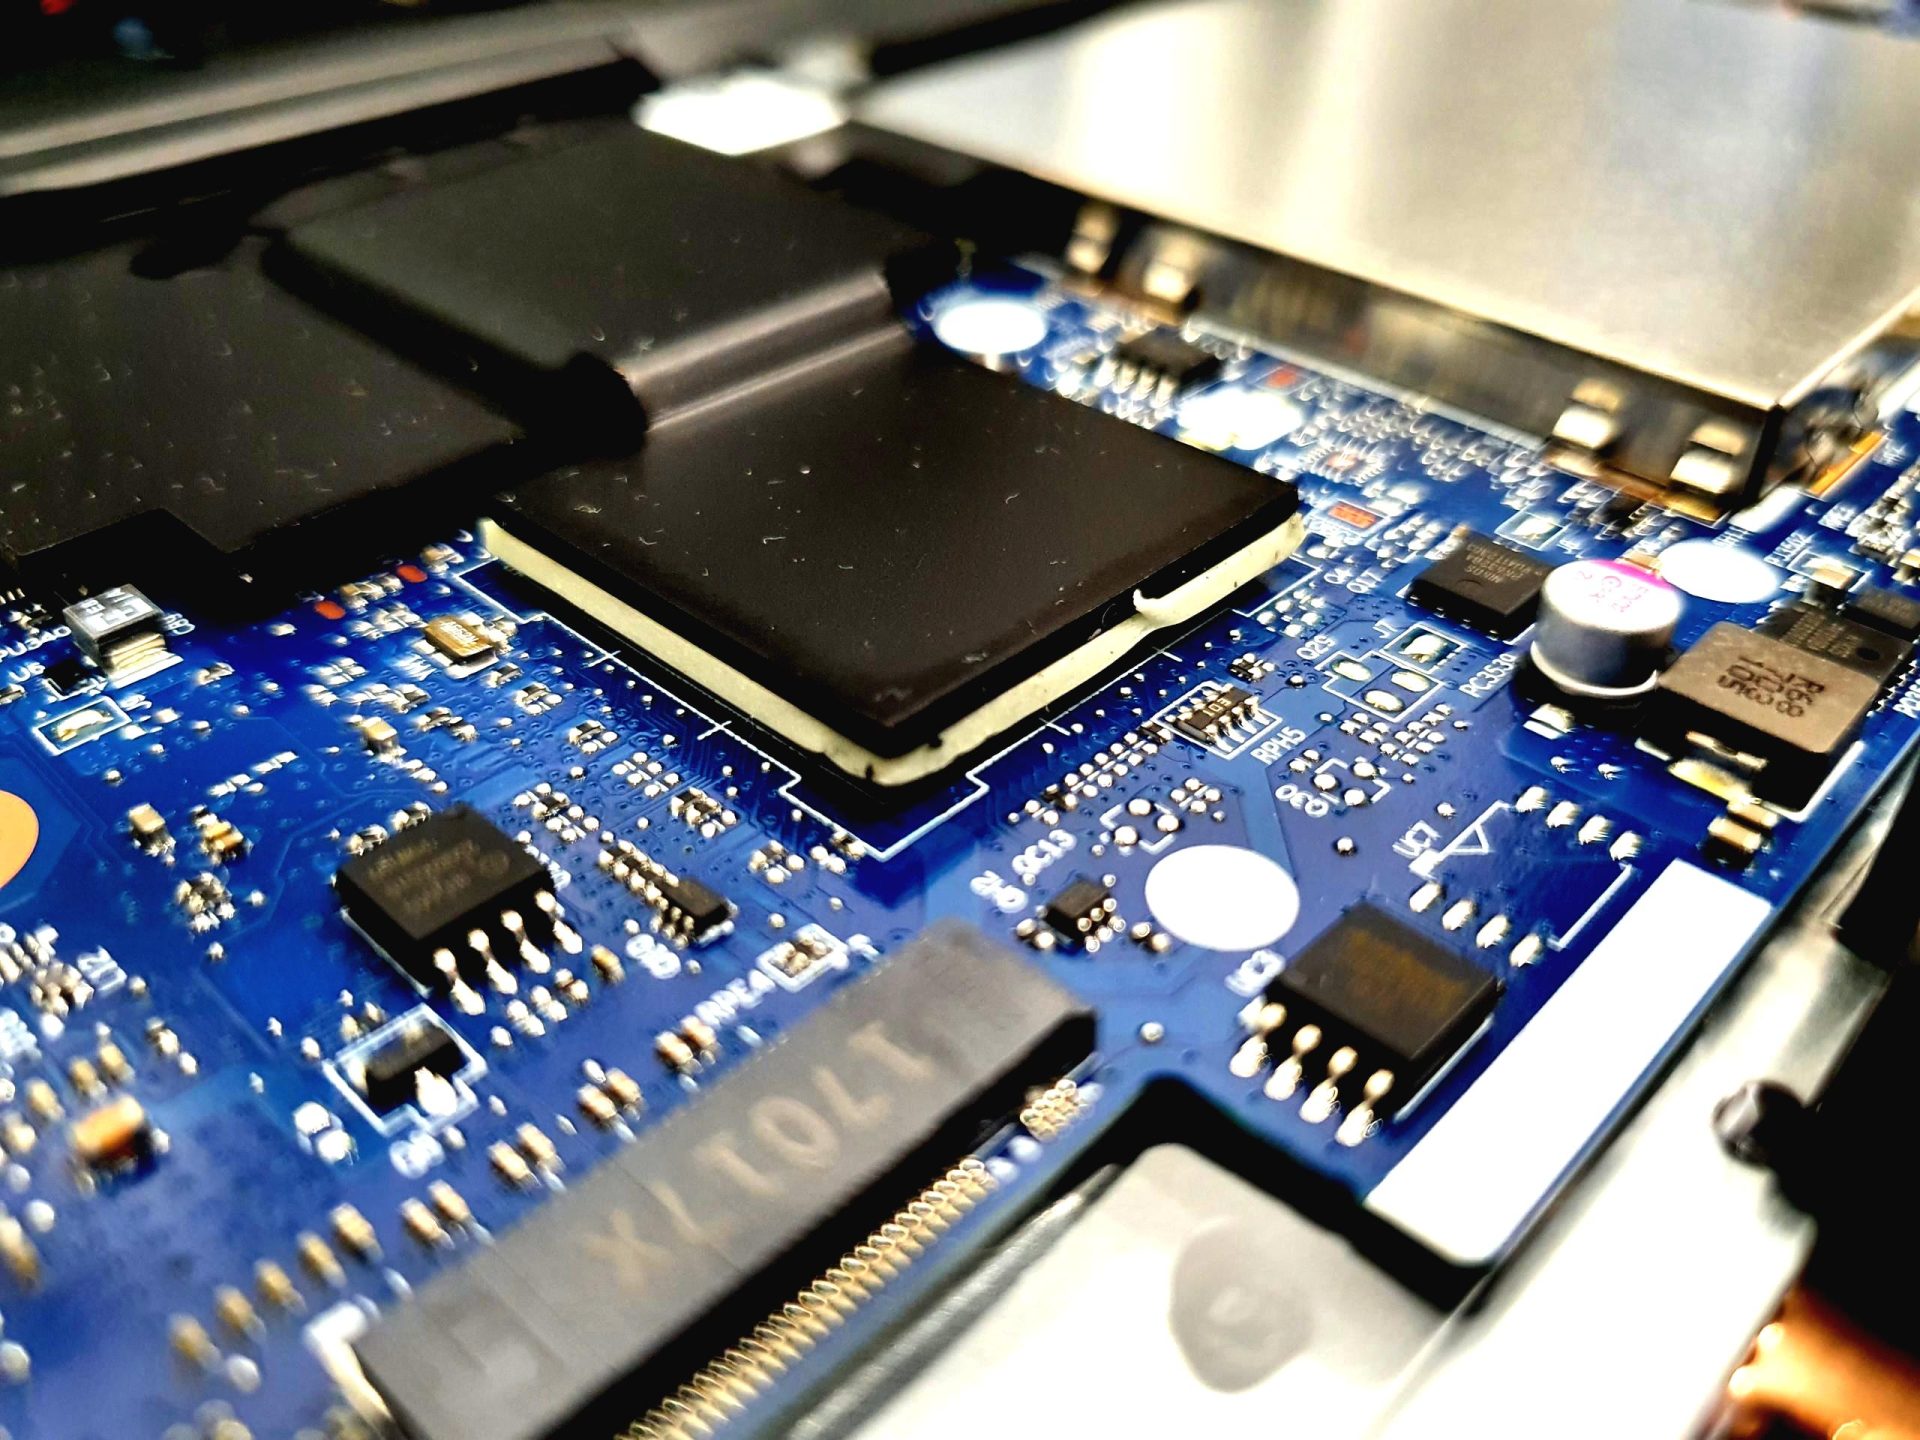
Laptop mainboard repair: How is it done?
How to tell if my mainboard is faulty?
Its not exactly easy to know for sure if your motherboard is failing or faulty. To start with, it may be a good idea to see if you laptop has been experiencing multiple issues at once and if the issues encountered are getting progressively worse over time.
If your laptop computer is running slower than usual, randomly freezes or restarts, or refuses to boot, frequently encountering the dreaded Blue Screen Of Death(BSOD), these signs usually indicate a failing mainboard or motherboard.
One of the bigger signs is when you are completely unable to power on your unit even after changing power adaptors. Absence of charging lights; which essentially points to the high possibility that your mainboard is no longer providing power to your components like the battery etc.
What causes a mainboard to be faulty?

- Liquid damage resulting in corrosion or shorted components.
- Electric and voltage fluctuations which compromises the motherboard (Power trips etc.)

- Fan failure which results in overheating.
- Dust build-up.
- Residue from smoking etc.
- Liquid damage resulting in corrosion or shorted components.

- Physical damage to the laptop.
- Wear & tear due to age.
Will I be able to repair a mainboard easily?

To put it simply, the steps taken to repair a mainboard are as follow:
- Visual identification to see if there is any visible damage, on the mainboard and its components.
- Using a voltmeter to test if power is flowing through and reaching all of the components in the mainboard, if there is a component not receiving power properly, slowly trace it back and you will find out which component is faulty and thus identifying the root of the issue.
- Identifying the exact component that is faulty and needs to be replaced. (Take note that you need to identify the exact make and values of the component, replacing an incompatible component may result in further damage to your mainboard.
- De-soldering/soldering works needed to replace/repair the faulty component/connector.
- Plug in power to the mainboard and test if the mainboard is working, if it still does not work, this means that there is probably more components that are faulty and needs to be replaced.
- With every mainboard repair, there is a chance that the damage may be too huge and there is no way to repair it back to working condition.
Unless you are fairly confident and knowledgeable about the circuitry and components of the laptop and mainboard, its highly suggested that you seek professional advise and help instead of trying to remedy or repair the issue yourself. This is because the only way to reliably isolate the issue or faulty component is through a detailed and methodical process of elimination which consumes a vast amount of time and concentration. Fixing a motherboard is also quite laborious because almost every component in the laptop needs to be removed before the mainboard can be replaced or looked at.
What tools are used for mainboard repairs?

Firstly, any mainboard repair will involve some form of soldering and re-soldering.
A Chip Rework Station is needed to ensure you are able to have the proper heating setup for repair works to take place. The station will heat up the chip to melt the solder below the SMT chip to allow removal. Proper soldering stencils that matches the chip to be replaced are required in order to re-apply solder paste.
You will also need soldering wire to go along with it, these can be easily found but it is highly suggested that you go for 60/40 soldering wires as they are said to be the most stable.

A Voltmeter is an important piece of equipment that tells you if power is being supplied and you can use it to narrow down a lack of or excess voltage along transistors called metal–oxide–semiconductor field-effect transistor(MOSFETS) and also Choke Coils.
A sure giveaway to determine an issue with the power being supplied to the mainboard is to check if the fuse or capacitator is blown. In most cases, fuses are located near the charging port and it is easy to tell if the fuse has blown – the absence of, or the fuse not being connected means that there is an open circuit and indicates that it has blown. Discoloration or visible damage/corrosion of the capacitators are also visual clues to help identify the root of the issue.
Mainboard Schematics

It is almost vital to have a mainboard schematics sheet for those who are inexperienced. This is a blueprint layout of the whole mainboard structure, its components and it’s make/model. Having this resource will make your life a whole lot easier even for experienced professionals.
Having said all that, it still takes a pair of expert hands to properly and efficiently carry out these delicate and precise repair works on a mainboard.
Think your mainboard is having issues but unable to confirm or repair the problem?
Do you have a faulty laptop that requires laptop mainboard repair?
Our team at Budget PC can assist you by providing a professional diagnosis and repair experience.
Drop us a message via our contact channels below!
