How To Replace Asus Zenbook Screen: Ultimate Laptop Repair Singapore
Asus Zenbook, with its elegant design and robust performance, has captured the hearts of many tech enthusiasts. But even the most reliable gadgets can face issues, and a damaged screen is a common one that many Zenbook users may encounter. If you find yourself in this situation, you might be wondering, “How can I replace the Asus Zenbook screen myself?”
You’re in luck! “How To Replace Asus Zenbook Screen” is not only a question but the theme of this comprehensive guide. Whether it’s a crack, dead pixels, or flickering that’s bothering you, this step-by-step tutorial is designed to assist you in replacing the screen of your beloved Zenbook.
From identifying the right tools to connecting the new screen, we’ll walk you through the entire process. While the task requires care and attention, our detailed instructions aim to make it accessible even if you’re new to DIY repairs.
So, if you’re ready to take on this challenge and breathe new life into your Asus Zenbook, read on! This guide to replacing the screen is tailored just for you.
Understanding Asus Zenbook Screen Issues
Types of Screen Issues
1. Dead Pixels
Dead pixels are small dots that fail to change color. They can be black, white, or stuck on a specific color. This issue might seem minor at first. However, it can be a sign of underlying problems. Manufacturing defects or physical trauma often cause dead pixels. Sometimes, they appear in clusters. Other times, they’re scattered across the screen. Either way, they can be a significant distraction during work or entertainment.
2. Flickering
Flickering is another common issue with Asus Zenbook screens. It refers to rapid changes in brightness that can occur intermittently. At times, flickering is subtle. In other instances, it’s quite noticeable. The causes can vary. Software conflicts, incorrect display settings, or hardware malfunctions might lead to flickering. Prolonged exposure to a flickering screen can cause eye strain. Thus, it’s an issue that requires attention.
3. Horizontal Lines
Horizontal lines on the screen can be perplexing. These lines might appear as thin streaks across the display. Sometimes, they’re constant. Other times, they appear and disappear. The colors of these lines can vary as well. A malfunctioning graphics card, display cable, or even the screen itself might cause these lines. Horizontal lines can hinder visibility and disrupt the user experience. Therefore, understanding and addressing this issue is vital.

4. Cracks and Physical Damage
Cracks and physical damage are often the result of accidents. A drop, bump, or excessive pressure can lead to visible cracks on the screen. These cracks might be superficial or deep. Superficial cracks might not affect the display immediately. Deep cracks, on the other hand, can lead to additional problems. Dead pixels, color distortion, or even complete screen failure can follow physical damage. Recognizing the extent of the damage and seeking professional help is often necessary.
5. Color Distortion
Color distortion can manifest in various ways. Colors might appear washed out, overly vibrant, or entirely incorrect. Sometimes, the entire color balance might shift. This distortion can be due to incorrect color calibration. It might also signal underlying hardware issues. Color distortion can make images, videos, and text appear unnatural. Consequently, it can diminish the overall user experience.
6. Ghosting
Ghosting is a phenomenon where images or text linger on the screen. It’s like a faint shadow that remains after the original image has moved or disappeared. Ghosting can occur due to slow response times in the display. It can also be a sign of wear and tear. Ghosting can make fast-paced videos or games appear blurry. It can also affect productivity applications by reducing clarity.
7. Brightness Issues
Brightness issues can range from the screen being too dim to excessively bright. Sometimes, the brightness controls might fail to respond. In other cases, the brightness might fluctuate on its own. These issues can stem from software glitches or hardware malfunctions. Brightness issues can affect visibility, cause eye strain, and reduce battery life.
In conclusion, Asus Zenbook screens can experience various issues. From dead pixels and flickering to more severe problems like cracks and color distortion, each issue has unique characteristics and underlying causes. Understanding these problems is the first step in addressing them effectively. Whether it’s a minor annoyance or a significant hindrance, recognizing and diagnosing screen issues ensures a better user experience and prolongs the life of the device.
Initial Troubleshooting For Asus Zenbook
1. Persistent Dead Pixels
Dead pixels can be a nuisance. First, try restarting your Zenbook by clicking on the Start menu, selecting the power icon, and choosing “Restart.” If the dead pixels persist or multiply, it’s time to consider professional help.
2. Uncontrollable Flickering
Flickering might be a settings issue. Update your graphics drivers by going to “Device Manager,” expanding “Display adapters,” right-clicking your graphics card, and selecting “Update driver.” Then restart your Zenbook. If the flickering continues, consult a professional.
3. Constant Horizontal Lines
Horizontal lines can be troubling. Check your display cables for any loose connections and restart your Zenbook. If the lines persist, a professional diagnosis may be needed.
4. Extensive Cracks and Physical Damage
Physical damage is usually evident. Small cracks might not affect usability. However, extensive damage requires professional intervention.
5. Severe Color Distortion
Color distortion can be confusing. Try recalibrating your display settings by right-clicking on the desktop, selecting “Display settings,” and adjusting the color calibration. If the problem persists, seek professional help.
6. Ghosting That Affects Usability
Ghosting can disrupt your experience. Check for software updates by going to “Settings,” then “Update & Security,” and click “Check for updates.” Restart your Zenbook. If ghosting continues, consult a professional.
7. Brightness Issues That Can’t Be Fixed
Brightness issues might seem minor. Adjust your brightness settings by using the brightness keys on your keyboard or through the display settings. Restart your Zenbook. If the problem continues, professional help may be necessary.
Step-by-Step Guide on How to Replace Asus Zenbook Screen
Step 1: Gather Necessary Tools
Start by gathering the essential tools. You’ll need:
- Phillips screwdriver (size may vary depending on the model)
- Plastic opening tools or guitar picks
- Heat gun or hairdryer (optional, for loosening adhesive)
- Soft cloth or anti-static mat
- Replacement screen (ensure it’s the correct model for your Zenbook) Prepare a clean, well-lit workspace to avoid losing any small parts.
Step 2: Power Off the Zenbook
Safety first. Power off the Zenbook completely. Disconnect the charger and any connected devices. If your model allows, remove the battery. This step is crucial to prevent any electrical damage or injury.
Step 3: Unscrew the Screen
Locate the screws holding the screen. There might be four or more, depending on the model. Carefully unscrew them using the Phillips screwdriver. Place the screws in a container to avoid losing them.
Step 4: Remove the Bezel
Use a plastic opening tool to gently pry the bezel from the screen. Start at one corner and work your way around. If there’s adhesive, use a heat gun to soften it. Be patient and gentle to avoid breaking the bezel.
Remember to set the bezel aside in a safe place to avoid damage.
Now, the screen will be fully exposed, with the bezel removed.
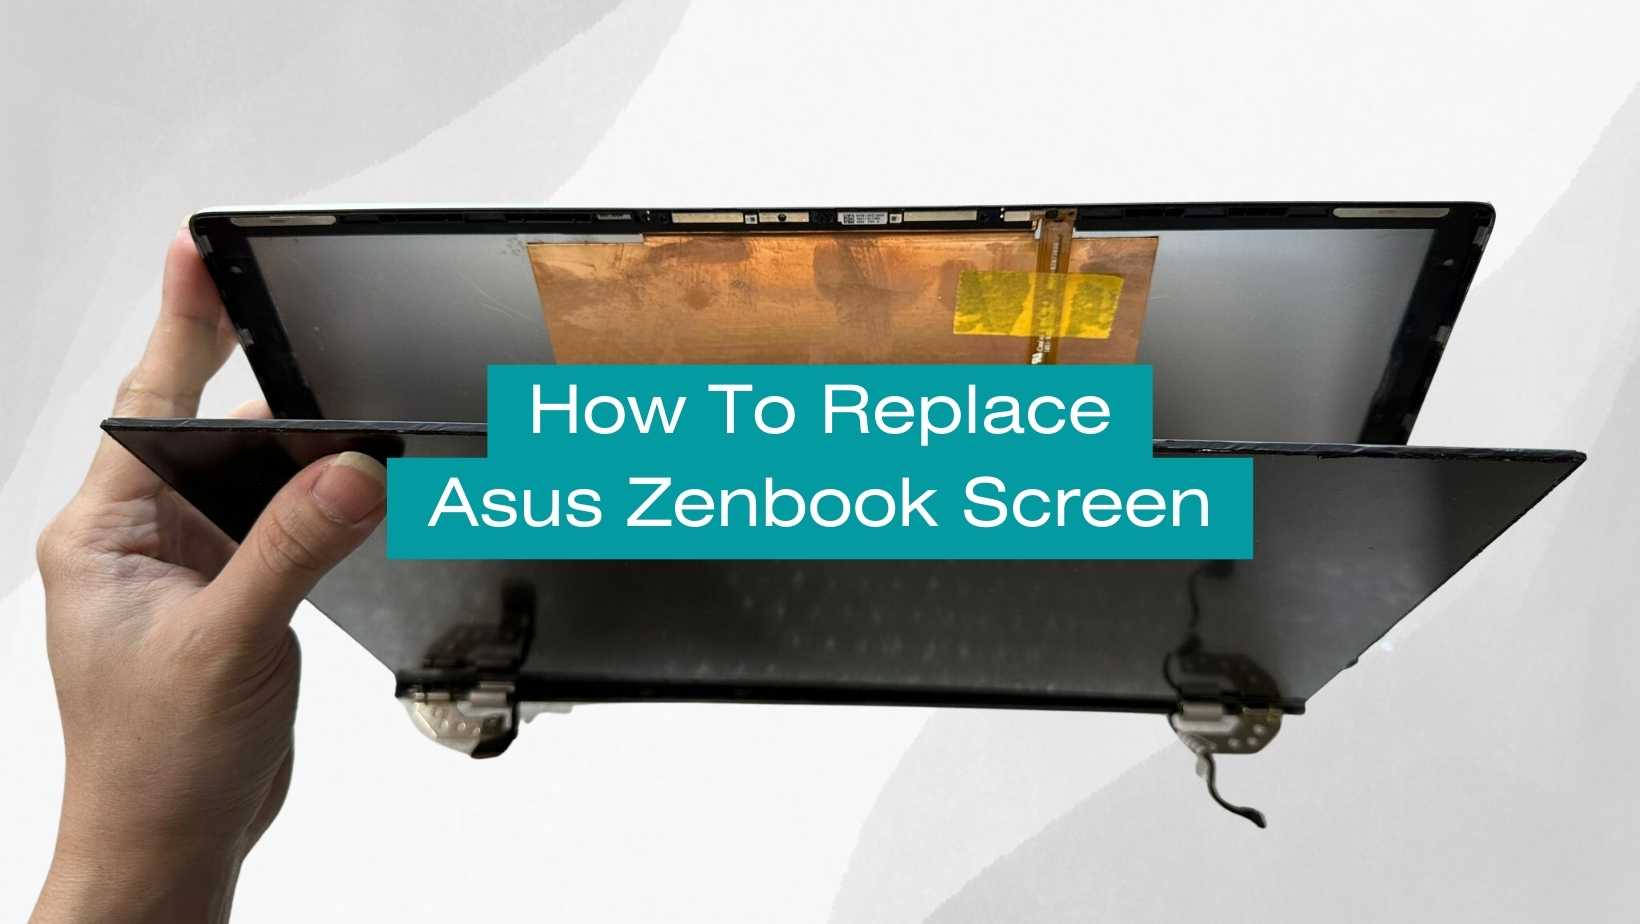
Step 5: Disconnect the Screen
Tilt the screen forward to access the cable connected to the back. This cable is delicate. Disconnect it by carefully unlocking the connector, usually by flipping up a small latch.
Then, remove the old Asus Zenbook screen.
Step 6: Prepare the New Screen
Inspect the new screen for any damage or protective film. Handle it with care, preferably by the edges. Lay it on a soft cloth to prevent scratches. Compare it with the old screen to ensure it’s the correct replacement.
Step 7: Connect the New Screen
Align the new screen with the mounting brackets. Connect the cable to the new screen, ensuring it’s secure. Lock the connector if there’s a latch. Handle this step with care, as the connectors are often fragile.
Step 8: Screw in the New Screen
Place the new screen into position. Screw it in using the screws you removed earlier. Tighten them securely but avoid over-tightening, as this might crack the screen.
Step 9: Replace the Bezel
Align the bezel with the screen. Snap it back into place, starting at one corner and working your way around. If there was adhesive, press firmly to ensure it sticks.
Step 10: Power On the Zenbook
Connect the battery (if removed) and power on the Zenbook. Check the new screen for any issues, such as dead pixels or color distortion. If everything looks good, you’ve successfully replaced the screen!
Additional Tips:
- Keep screws and small parts organized.
- If a step feels too challenging, don’t hesitate to consult a professional.
- Follow safety precautions, especially when handling the screen and connectors.
- Refer to your Zenbook’s specific model manual if available, as there might be model-specific instructions.
Conclusion
Replacing an Asus Zenbook screen is a detailed and delicate process. Each step requires attention, care, and the right tools. While this guide provides a general overview, variations might exist between different Zenbook models. If at any point you feel unsure, seeking professional help is always a wise decision. Whether you choose the DIY route or professional service, understanding the replacement process empowers you to take care of your Zenbook effectively. It’s a rewarding skill that can save time and money, but it also requires a willingness to be patient and meticulous in following each step.
Where to Replace Asus Zenbook Screen in Singapore
Finding a Good Repair Shop
1. Look for Certifications
Certifications are not just badges; they’re proof of expertise. In Singapore, reputable repair shops often employ technicians with specific certifications. These credentials ensure that the technicians have undergone rigorous training. They know the ins and outs of screen repair. Always ask for certifications when considering a repair shop.
2. Check Reviews and Ratings
Online reviews and ratings are valuable resources. They provide real insights from previous customers. Look for reviews on various platforms like Google, Yelp, or local Singapore forums. Pay attention to consistent positive feedback and how the shop responds to criticism. It can tell you a lot about their commitment to customer satisfaction.
3. Ask About Warranty
A warranty is more than a promise; it’s a guarantee of quality. Reputable shops in Singapore often provide warranties on parts and labor. Ask about the duration and what it covers. A clear and fair warranty policy reflects a shop’s confidence in its work.
4. Inquire About the Process
Understanding the repair process is essential. A transparent shop will explain each step. They’ll tell you what needs fixing and why. They’ll provide a clear timeline and cost estimate. This transparency builds trust and ensures there are no surprises later.
5. Compare Prices
Price comparison is more than looking for the cheapest option. It’s about finding value. Compare prices among different shops in Singapore. Consider what’s included, like parts, labor, and warranty. Sometimes, a slightly higher price offers better value due to quality work and customer service.
6. Consider Turnaround Time
Time is often of the essence. A good repair shop will provide a reasonable but realistic time frame. Beware of promises that seem too good to be true. Quality work takes time, and rushing might lead to subpar repairs.
7. Evaluate Customer Service
Customer service is a reflection of a shop’s values. How do they treat you when you inquire? Are they patient with your questions? Good customer service is a sign of professionalism and respect for customers.
Introducing VOLTA PC Upgrade & Repair
When it comes to laptop screen repair and replacement in Singapore, VOLTA PC Upgrade & Repair stands out. With certified technicians, we offer top-notch services. Our team is skilled in handling various screen issues, including those specific to Asus Zenbook.
- Quality Assurance: At VOLTA PC Upgrade & Repair, quality is paramount. We provide a warranty on our repairs. Our technicians use only high-quality parts. Thus, you can trust our services.
- Transparent Process: Transparency is our hallmark. We explain the repair process in detail. You’ll know what we’re doing and why. It’s part of our commitment to customer satisfaction.
- Reasonable Pricing: We believe in fair pricing. Our services offer value without compromising quality. You’ll find our rates competitive, especially considering the level of expertise we provide.
- Timely Repairs: Time matters to us too. We strive to complete repairs within a reasonable time frame. Yet, we never compromise on quality. It’s a balance we maintain with care.
- Excellent Customer Service: Our customers matter to us. We listen to your concerns. We answer your questions. Our goal is to provide a service that leaves you satisfied.
In conclusion, finding the right screen repair and replacement service in Singapore requires careful consideration. Look for certifications, reviews, transparency, and value. Consider factors like warranty, price, and customer service. Among the options, VOLTA PC Upgrade & Repair offers a reliable and quality solution. With our focus on quality, transparency, fair pricing, timely repairs, and excellent customer service, we strive to meet your screen repair needs effectively. Trust us with your Asus Zenbook, and experience the VOLTA PC Upgrade & Repair difference.
Address:
- Tai Seng Branch: 8 Burn Road #01-04, Trivex, Singapore 369977
- Jurong Branch: Blk 132 #01-279C, Jurong Gateway Road, Singapore 600132