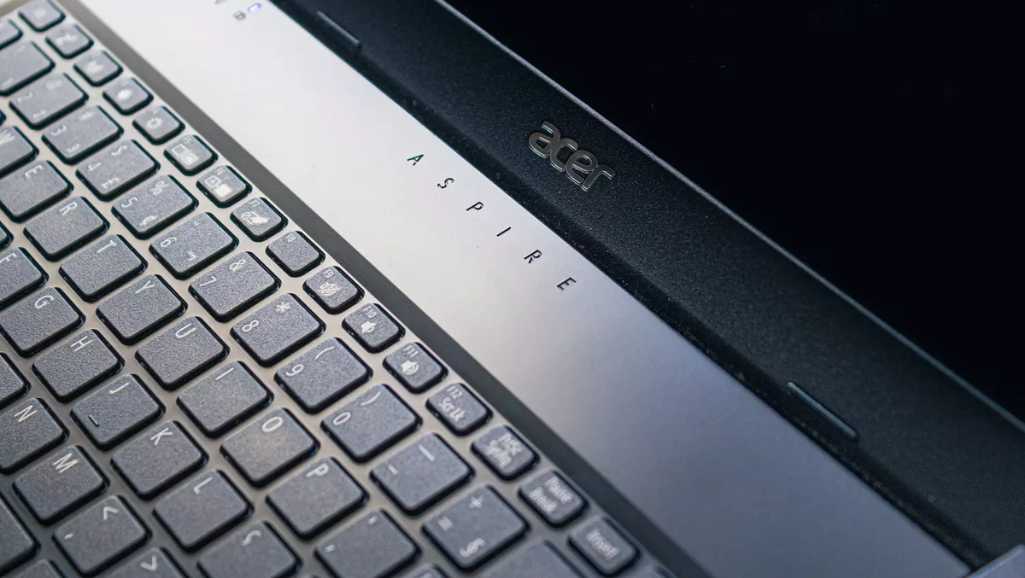
How to Repair an Acer Laptop Keyboard

Laptop keyboards are notorious for giving in to wear and tear, accidental spills, or the occasional sticky key. Among these, Acer laptops are popular for both their affordability and reliability, yet they are not immune to keyboard issues. Whether it’s a key failing to register or a sticky space bar, keyboard troubles can significantly hinder your productivity and overall user experience. Repairing your Acer laptop keyboard is a practical skill that can save you both time and money. Instead of waiting days for professional help or investing in a new laptop, you can tackle most keyboard issues at home. This guide aims to empower you with the knowledge and tools to perform basic repairs on your Acer laptop keyboard. By understanding the structure of your keyboard and following detailed repair steps, you’ll extend the lifespan of your device and gain a rewarding sense of accomplishment. The process might seem daunting at first, especially if you’re new to DIY electronics repair, but rest assured, the steps outlined here are straightforward and tested. With patience and the right approach, you’ll find that fixing your laptop keyboard is not only feasible but also quite satisfying. Let’s start by exploring the various types of Acer laptop keyboards and understanding common problems that might arise.

Understanding Your Acer Laptop Keyboard

1.1: Types of Acer Laptop Keyboards

Acer offers a range of laptop models, each equipped with different types of keyboards that cater to various user needs and preferences. Typically, you will encounter one of the following styles:
  1. Traditional Keyboards: Found in many older and budget-friendly Acer models, these keyboards feature raised keys with a noticeable travel when pressed. They are often favored for their tactile feedback and durability.
  2. Chiclet Keyboards: More common in newer Acer laptops, chiclet keyboards have flat keys with a small gap between them. They are known for their sleek appearance and quieter typing experience.
  3. Mechanical Keyboards: Some high-end Acer models, particularly those designed for gaming, come with mechanical keyboards. These offer superior tactile feedback and durability, with each key having its own switch underneath.
Understanding the type of keyboard your Acer laptop has is crucial as it determines the approach and tools you’ll need for repairs.

1.2: Common Problems and Symptoms

Acer laptop keyboards can experience a variety of issues, but some are more common than others. Here are the typical problems you might face:
  • Stuck or Unresponsive Keys: Often caused by dirt, debris, or worn-out switches. This issue can usually be resolved by cleaning or replacing the affected keys.
  • Key Chatter: This occurs when a single key press results in multiple inputs. It’s usually a sign of a defective key switch or a problem with the keyboard’s circuitry.
  • Non-responsive Keyboard: If the entire keyboard fails to respond, the issue could be software-related or a malfunctioning keyboard connector.
Identifying these symptoms accurately will guide you in choosing the right repair method.

1.3: Tools and Materials Needed

Before you begin the repair process, gathering the right tools and materials is essential. Here’s what you’ll need:
  • Screwdrivers: A set of precision screwdrivers to handle various screws on your laptop.
  • Spudger: A plastic tool used to pry open parts without damaging them.
  • Compressed Air: Useful for blowing out debris from under the keys.
  • Isopropyl Alcohol: Helps clean sticky or dirty keys.
  • Replacement Keys: If keys are damaged beyond repair, having replacements is necessary.
With these tools at your disposal, you’re well-prepared to tackle most keyboard issues.

2. Preparing for ACER Laptop Keyboard Repair

2.1: Safety Precautions

Before you dive into repairing your Acer laptop keyboard, it’s crucial to take the necessary safety precautions to protect both yourself and your device:
  1. Power Down Your Laptop: Ensure the laptop is turned off and unplugged from any power source. This step prevents any electrical hazards.
  2. Remove the Battery: If possible, remove the laptop’s battery to eliminate any risk of power flowing through the device while you work.
  3. Use ESD (Electrostatic Discharge) Protection: To avoid damaging the laptop’s internal components with static electricity, consider using an ESD wrist strap or at least ensure you are grounded during the repair.
These safety steps are simple but critical in preventing accidents and damage during the repair process.

2.2: Initial Diagnostics

Conducting initial diagnostics can help confirm that the problem is indeed with the hardware and not software-related:
  1. Check Software Settings: Ensure that the keyboard settings in your operating system are correct. Sometimes, settings like Sticky Keys or Filter Keys might be enabled, affecting keyboard performance.
  2. Update Drivers: Outdated or corrupted drivers can cause keyboard malfunctions. Check for the latest keyboard driver updates from Acer’s official website.
  3. External Keyboard Test: Connect an external keyboard to see if it works properly. If the external keyboard works without issues, it’s likely that your laptop’s keyboard hardware is at fault.
Identifying the exact nature of the problem will guide you in applying the correct repair techniques.

2.3: Setting Up Your Workspace

Creating an organized and static-free workspace is essential for a successful repair:
  1. Clean Surface: Ensure your workspace is clean and free of any unnecessary objects that might interfere with the repair.
  2. Proper Lighting: Good lighting is crucial to see the small parts and connectors clearly.
  3. Organize Your Tools: Have all your tools and materials neatly arranged for easy access. This organization helps prevent losing any small parts like screws during the disassembly process.
With these preparations complete, you’ll have a safe and efficient environment ready for the intricate work of repairing your Acer laptop keyboard.

3: Step-by-Step Repair Guide

3.1: Disassembling the Keyboard

Disassembling your Acer laptop keyboard is a delicate process. Follow these steps to ensure you do it safely and correctly:
  1. Access the Keyboard: Most Acer laptops will have screws on the bottom that secure the keyboard. You may also need to remove additional components like the battery or hard drive to access some screws. Refer to your laptop’s service manual for specific instructions.
  2. Remove the Keyboard Bezel: Carefully pry up the bezel or frame that holds the keyboard in place. Use a spudger or plastic opening tool to avoid damaging the laptop.
  3. Release the Keyboard: Once the bezel is off, you should see screws or clips that hold the keyboard itself. Remove these screws, and gently lift the keyboard, being mindful of the ribbon cable beneath that connects the keyboard to the motherboard.
  4. Disconnect the Ribbon Cable: Securely disconnect the ribbon cable by releasing the connector’s locking tab. This step is crucial; pulling on the cable without releasing the tab can damage the connector.
Take your time with each step to avoid any damage to the keyboard or the laptop itself.

3.2: Cleaning and Repairing Keys

Once the keyboard is disassembled, you can begin cleaning and repairing individual keys:
  1. Cleaning Under the Keys: Use compressed air to blow out debris from under the keys. For sticky residues, gently use a cotton swab dipped in isopropyl alcohol to clean the areas.
  2. Removing and Cleaning Individual Keys: If certain keys are still problematic, carefully remove them using a flat tool. Clean the keycaps and the area underneath with isopropyl alcohol.
  3. Replacing Faulty Keys: If any keys are broken or continue to malfunction after cleaning, replace them with new ones. Make sure the replacement keys are compatible with your Acer model.
Reassembling and testing each key ensures that the keyboard will function smoothly once it’s back in place.

3.3: Reassembling and Testing the Keyboard

Reassembling your keyboard should be done with care, reversing the disassembly steps:
  1. Reconnect the Ribbon Cable: Carefully align and insert the ribbon cable back into its connector. Secure the locking tab to ensure a firm connection.
  2. Place the Keyboard Back: Position the keyboard back into its slot. Reattach any screws or clips that were holding the keyboard.
  3. Reattach the Keyboard Bezel: Snap the bezel or frame back into place, making sure it fits snugly around the edges of the keyboard.
  4. Final Testing: Once everything is reassembled, power up your laptop. Test each key to ensure they all register correctly and that the keyboard functions as expected.
This detailed process not only fixes immediate issues but also helps maintain the longevity of your Acer laptop keyboard.

Conclusion: Empowering Your Acer Laptop Keyboard Repair Journey

Congratulations on completing the journey to repair your Acer laptop keyboard! By following the detailed steps outlined in this guide, you have taken a significant step towards not only saving money but also understanding and maintaining your laptop better. Whether it was a stuck key, a malfunctioning keyboard, or just regular maintenance, your ability to address these issues personally is a valuable skill in today’s tech-driven world. Recap of Key Steps:
  1. Understanding Your Keyboard: Recognizing the type of Acer laptop keyboard you have is crucial for the repair process.
  2. Preparation: Setting up a safe and organized workspace, and ensuring you have all necessary tools, are foundational to a successful repair.
  3. Disassembly and Repair: Carefully disassembling the keyboard, cleaning, and repairing or replacing keys as needed.
  4. Reassembly and Testing: Methodically reassembling the keyboard and thoroughly testing it to ensure full functionality.
This guide aimed to demystify the process of Acer laptop keyboard repair. With these skills, you might feel encouraged to tackle other DIY repair projects on your electronics. Many users find that once they start, they gain not only a greater appreciation for how their devices work but also the confidence to fix them. We hope you found this guide helpful and that it saved you a trip to the repair shop. If you successfully repaired your keyboard, we’d love to hear about your experience! Share your success stories in the comments, and if you have any additional tips or questions, feel free to contribute. Your insights could help others embarking on their own repair journeys.

FAQs on ACER Laptop Keyboard Repair

1. How to fix an Acer laptop keyboard?

Fixing an Acer laptop keyboard can vary depending on the issue. Common steps include:
  • Restarting your laptop: Sometimes, a simple restart can resolve keyboard issues.
  • Cleaning the keyboard: Use compressed air to blow out debris from under the keys, or gently clean around the keys with a soft, damp cloth.
  • Checking keyboard settings and drivers: Ensure that the keyboard settings in your operating system are correct and that your drivers are up-to-date.
  • Re-seating the keyboard connector: If the keyboard is not responding, try re-seating the connector that links the keyboard to the motherboard, as it may have become loose.
  • For more detailed instructions on DIY repairs, refer to the steps outlined in the earlier sections of our guide.

2. How to fix an Acer laptop keyboard that types wrong characters?

If your Acer laptop keyboard is typing wrong characters, follow these steps to troubleshoot:
  • Adjust Language Settings: Check your keyboard language settings in the control panel or system settings. Ensure you’ve selected the correct language.
  • Check Num Lock and Function Keys: Make sure Num Lock is off, and check if you are inadvertently pressing function keys that change how other keys behave.
  • Update Keyboard Drivers: Outdated or corrupted drivers can cause incorrect characters to appear. Update your keyboard drivers through the Device Manager or download the latest ones from the Acer website.
  • Reset Keyboard Settings: In some cases, resetting your keyboard settings to default can correct the character mismatch.

3. Can you replace keys on an Acer laptop?

Yes, you can replace keys on an Acer laptop. If specific keys are broken, loose, or missing, you can often order replacement keys or a replacement keyboard kit specific to your Acer model. Here’s how you can replace the keys:
  • Purchase the Correct Replacement Keys: Make sure the replacement keys or keyboard match your laptop model. You can find these on the Acer parts website, or other third-party vendors.
  • Remove the Old Key: Carefully pry up the damaged or broken key using a flat tool like a screwdriver or a knife edge. Be gentle to avoid damaging the underlying scissor mechanism or retaining clips.
  • Clean the Area: Before installing the new key, clean the exposed area to remove any dust or debris that might affect the new key’s functionality.
  • Install the New Key: Align the new key with the retainer clips, and press down firmly until you hear a click. This indicates the key is securely attached.

Are you struggling with a faulty Acer laptop keyboard?

Don’t let keyboard troubles slow you down! At Volta PC Upgrade & Repair, we specialise in quick, reliable solutions for all your Acer keyboard issues. Whether it’s unresponsive keys, sticky buttons, or anything in between, our team of certified technicians is here to help. If your DIY repair attempts haven’t gone as planned, or if you simply prefer the assurance of professional service, contact us today. We use only genuine replacement parts and the latest tools to ensure your repair is handled efficiently and effectively. Plus, every repair comes with a satisfaction guarantee, so you can be confident that your laptop will return to you in top working condition. Don’t waste time with frustrating keyboard malfunctions. Visit Volta PC Upgrade & Repair, where our friendly experts are ready to assist you. To make things even easier, you can schedule your repair online at our website or give us a call to discuss your specific needs. Remember, timely repairs not only solve immediate frustrations but also extend the life of your laptop. Get back to typing smoothly and efficiently—reach out to Volta PC Upgrade & Repair now and let us take the hassle out of your Acer laptop keyboard repair!
  • Address:
    • Tai Seng Branch: 8 Burn Road #01-04, Trivex, Singapore 369977
    • Jurong Branch: Blk 132 #01-279C, Jurong Gateway Road, Singapore 6001324
  • ContactWhatsapp us | Call 69500453 | Telegram us
X