PC Repair Tips: How To Troubleshoot Common Hardware Problems
Welcome to our comprehensive guide on PC repair. In this post, we’ll delve into the world of hardware problems and their solutions. We’ll explore common issues, their symptoms, and how to troubleshoot them effectively. From checking the power supply to updating drivers, we’ll cover it all. We’ll also discuss when it’s time to seek professional help. So, whether you’re a seasoned tech enthusiast or a novice, this guide is for you. Let’s dive in and demystify the process of PC repair.
Understanding PC Hardware
Understanding the hardware of a PC is crucial. It’s the first step in troubleshooting common hardware problems. So, let’s delve into the basics.
Firstly, the heart of a PC is the Central Processing Unit (CPU). It’s the primary component that executes most of the processing inside computers. Think of it as the brain of your computer. When it comes to PC repair, a faulty CPU can cause a myriad of issues.
Next, we have the Random Access Memory (RAM). This is your computer’s short-term memory. It temporarily stores data that the CPU uses for tasks. If your PC is slowing down or crashing, the problem might lie with the RAM.
Thirdly, the motherboard is key. It’s the main circuit board that houses the CPU, RAM, and other components. A malfunctioning motherboard can lead to various hardware problems. Hence, it’s a common focus in PC repair.
Then, there’s the hard drive or Solid State Drive (SSD). This is where your PC stores data long-term. If you’re experiencing slow load times or data loss, your hard drive could be the culprit.
Moreover, the Graphics Processing Unit (GPU) is vital for anything visually intensive. If your PC struggles with video playback or games, the GPU might need some attention.
Furthermore, the power supply unit (PSU) is often overlooked. It provides power to all your PC components. If your PC isn’t turning on, the PSU might be at fault.
Lastly, peripherals like the keyboard, mouse, and monitor provide the user interface. Problems with these can often be resolved with simple troubleshooting steps.
By familiarizing yourself with these components, you’re well on your way to becoming proficient in PC repair. So, the next time you encounter a hardware problem, you’ll know where to start your troubleshooting.
Common Hardware Problems and Their Symptoms
Let’s now explore some common hardware problems and their symptoms. Understanding these can help you troubleshoot effectively.
Firstly, one of the most common issues is a computer that won’t turn on.
This could be due to a faulty power supply unit (PSU). Alternatively, it could be a problem with the motherboard. In either case, professional PC repair might be necessary.
Secondly, overheating is a frequent problem.
If your PC is shutting down unexpectedly or running slowly, it could be overheating. This is often due to a malfunctioning fan or blocked air vents. Regular cleaning can help prevent this issue.
Thirdly, another common problem is a slow-running computer.
This could be due to insufficient RAM, a failing hard drive, or malware. Upgrading your RAM or using diagnostic tools to check your hard drive can help. Also, running a malware scan is a good idea.
Next, let’s talk about the Blue Screen of Death (BSOD).
This is a sign of a serious hardware or driver issue. The error message on the screen can give you a clue about the problem. It’s often related to the RAM, motherboard, or drivers.
Moreover, strange noises can indicate hardware problems.
A failing hard drive might make a clicking sound. On the other hand, a loud fan could suggest overheating. In both cases, it’s best to seek PC repair.
Furthermore, if your PC is randomly restarting, it could be a power issue.
It might also be a problem with the motherboard or RAM. Using diagnostic tools can help identify the issue.
In addition, if your computer freezes or crashes often, it could be a RAM issue.
It might also be a problem with the CPU or motherboard. Again, diagnostic tools can be useful here.
Also, if you’re experiencing network issues, it could be a problem with your network adapter.
Updating your device drivers might resolve the issue. If not, you might need to replace the adapter.
Lastly, if your peripherals aren’t working, it could be a driver issue.
It might also be a problem with the peripheral itself. Updating the drivers or replacing the peripheral can often resolve the issue.
In conclusion, these are some of the most common hardware problems and their symptoms. By understanding these, you can better troubleshoot your PC. Remember, if you’re in Singapore and need professional help, there are many PC repair Singapore services available.
So, the next time you encounter a hardware problem, you’ll be better equipped to handle it. Whether it’s a power issue, overheating, or a failing hard drive, you’ll know what to do. And if all else fails, professional PC repair is just a call away.

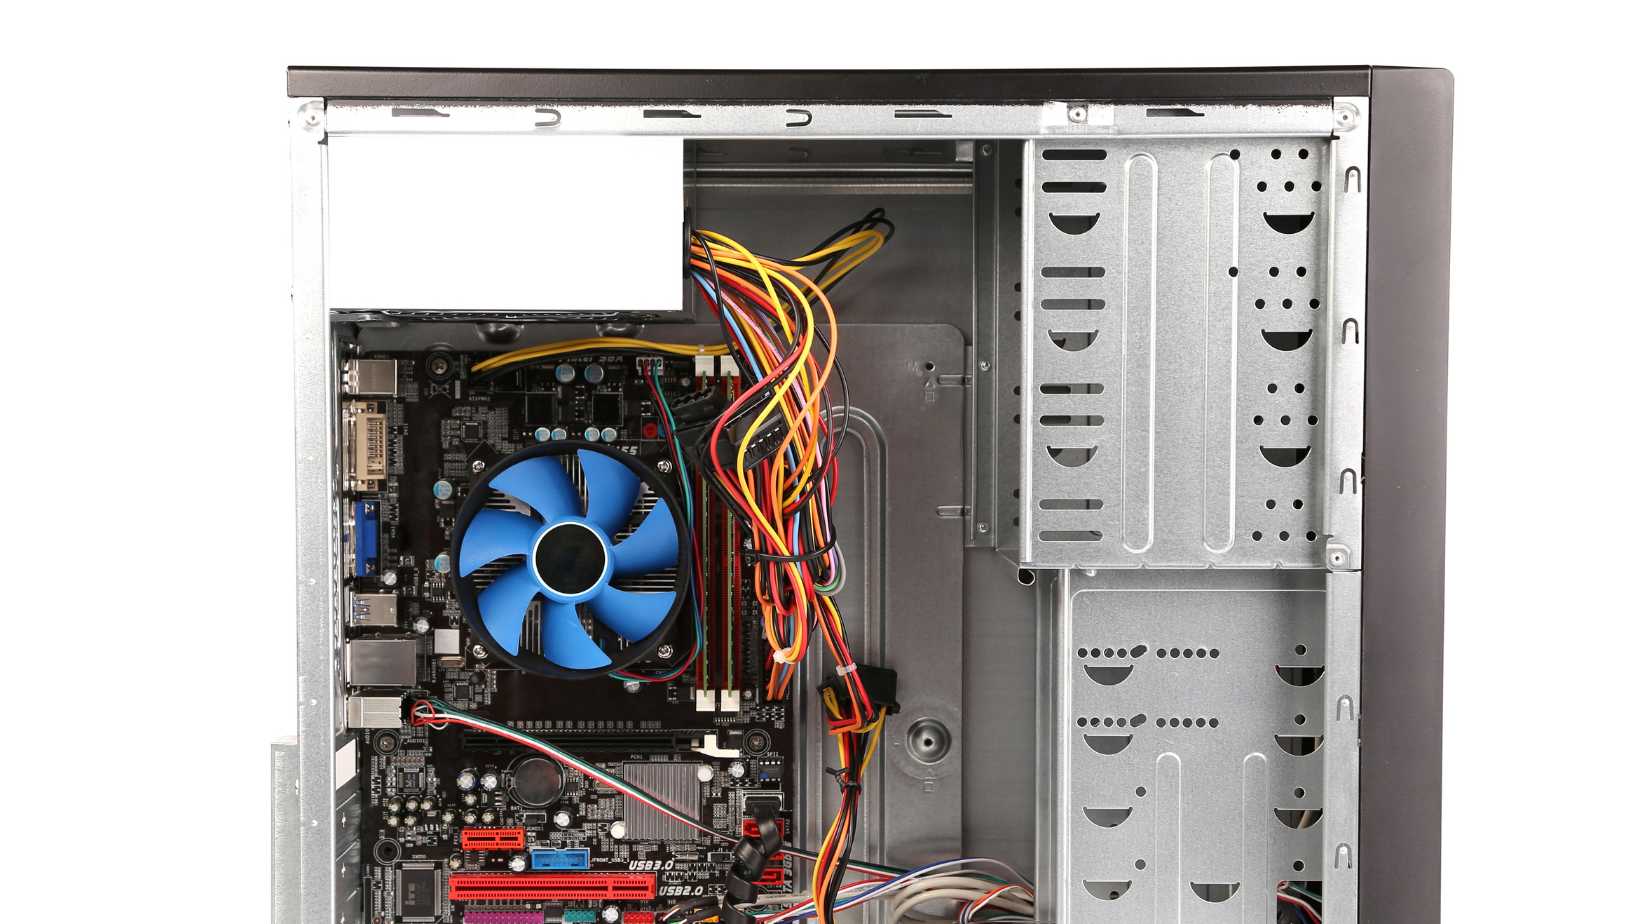
Image credit: Canva
PC Repair Tips: Troubleshooting Common Hardware Problems
1. Checking the Power Supply
Let’s start our troubleshooting journey with the power supply. It’s a vital component of your PC. If your computer isn’t turning on, the power supply unit (PSU) could be the culprit.
Firstly, check the power cord. Ensure it’s plugged in securely at both ends. Sometimes, the issue is as simple as a loose connection.
Secondly, inspect the power switch. Make sure it’s in the ‘on’ position. This might seem obvious, but it’s often overlooked.
Next, try a different power outlet. Occasionally, the problem isn’t with the PC, but with the power source.
Moreover, if your PC still won’t turn on, the PSU might be faulty. In this case, you’ll need a power supply tester. This is a handy diagnostic tool that can confirm whether the PSU is working.
If the PSU is indeed faulty, it’s best to replace it. Attempting to repair a PSU yourself can be dangerous. Therefore, it’s advisable to seek professional PC repair.
2. Checking for Loose Connections
Next on our troubleshooting list is checking for loose connections. This is a common cause of hardware problems. So, let’s dive into how to tackle this issue.
Firstly, turn off your PC. It’s important to ensure your safety before opening your computer. Also, unplug it from the power source.
Secondly, open your PC case. This will give you access to the internal components. Remember, it’s crucial to handle these parts with care.
Next, inspect all cables and connections. Look for any that are loose or disconnected. This includes power cables, data cables, and expansion cards.
Moreover, if you find a loose cable, secure it. Make sure it’s firmly connected at both ends. Sometimes, a loose cable is all that’s causing the problem.
Furthermore, check the connections to your peripherals. This includes your keyboard, mouse, and monitor. A loose connection here can cause these devices to malfunction.
3. Running Hardware Diagnostics
Now, let’s move on to running hardware diagnostics. This is a powerful tool in your PC repair toolkit. It can help identify the root cause of many hardware problems.
Firstly, most PCs come with built-in diagnostic tools. These tools can test various components such as the CPU, RAM, and hard drive. You can usually access these tools by pressing a specific key during startup.
Secondly, if your PC doesn’t have built-in tools, don’t worry. There are many third-party diagnostic tools available. Some are free, while others are paid. They can provide comprehensive tests for your hardware.
Next, run the diagnostic tool. It will test your hardware and provide a report. This report can help you identify any problematic components.
Moreover, if the tool identifies a problem, research the issue. Understanding the problem can help you decide on the best course of action. This might involve replacing a component or updating your device drivers.
4. Updating Drivers
Next on our troubleshooting guide is updating drivers. Device drivers are crucial for your PC’s hardware to function properly. Outdated or faulty drivers can cause various hardware problems.
Firstly, identify the drivers that need updating. This could be your graphics card driver, network adapter driver, or others. Device Manager in Windows can help you identify these.
Secondly, visit the manufacturer’s website. They usually provide the latest drivers for their hardware. Make sure to download the correct driver for your specific model and operating system.
Next, install the updated driver. This usually involves running the downloaded file. Follow the on-screen instructions to complete the installation.
Moreover, restart your PC after updating the drivers. This ensures the new drivers are properly loaded. After restarting, check if your hardware problem is resolved.
5. Monitoring Temperatures
Now, let’s discuss monitoring temperatures. Overheating can cause serious hardware problems. Therefore, keeping an eye on your PC’s temperature is crucial.
Firstly, understand that high temperatures can damage your hardware. This includes the CPU and GPU. Overheating can cause your PC to slow down or even shut down.
Secondly, use software to monitor your temperatures. There are many free tools available. These tools can provide real-time temperature readings for your CPU and GPU.
Next, if you notice high temperatures, check your cooling system. This includes your fans and heat sinks. Make sure they’re clean and functioning properly.
Moreover, consider the location of your PC. Ensure it’s in a well-ventilated area. This can help prevent overheating.
Furthermore, if your PC continues to overheat, it might need professional attention. Overheating can indicate a more serious issue, such as a failing fan or thermal paste that needs replacing.
6. Checking RAM
Next, let’s focus on checking the RAM. RAM, or Random Access Memory, plays a crucial role in your PC’s performance. Problems with RAM can cause system crashes and instability.
Firstly, understand the symptoms of RAM issues. These can include frequent system crashes, blue screens, and PC slowdowns. If you’re experiencing these, your RAM might be the culprit.
Secondly, use diagnostic tools to test your RAM. Many operating systems have built-in tools for this. There are also third-party tools available.
Next, if the tool identifies a problem, try reseating your RAM. This involves removing and reinserting the RAM modules. Sometimes, this can resolve the issue.
Moreover, if reseating doesn’t help, you might need to replace your RAM. Keep in mind that it’s important to choose the right type of RAM for your PC.
7. Scanning for Malware
Now, let’s discuss scanning for malware. Malicious software can affect your PC’s performance. It can even cause hardware problems.
Firstly, understand the signs of malware. These can include slow performance, frequent crashes, and unexpected pop-ups. If you notice these, it’s time to run a malware scan.
Secondly, use a reputable antivirus or anti-malware program. There are many options available, both free and paid. These programs can detect and remove most types of malware.
Next, run a full system scan. This might take some time, but it’s worth it. The program will scan all your files for any signs of malware.
Moreover, if the program detects malware, follow its instructions to remove it. This usually involves quarantining and deleting the malicious files.
Furthermore, after removing the malware, monitor your PC’s performance. If it improves, the malware was likely causing the problem. If not, you might need to continue troubleshooting.
8. Updating BIOS
Next, let’s talk about updating the BIOS. The BIOS, or Basic Input Output System, is a crucial part of your PC. An outdated or corrupt BIOS can cause hardware problems.
Firstly, identify your current BIOS version. You can usually find this information in the system information or BIOS setup menu. Note this down for reference.
Secondly, visit your PC manufacturer’s website. Look for the support or downloads section. Here, you can find any available BIOS updates.
Next, compare the latest BIOS version with your current version. If a newer version is available, download it. Make sure to choose the correct version for your specific PC model.
Moreover, follow the manufacturer’s instructions to update the BIOS. This process can vary between different manufacturers. It’s crucial to follow the instructions carefully.
Furthermore, don’t interrupt the BIOS update process. This can cause serious problems. Ensure your PC is connected to a reliable power source before starting.
9. Removing Unnecessary Peripherals
Finally, let’s discuss removing unnecessary peripherals. Sometimes, hardware problems can be caused by external devices. So, let’s explore how to handle this issue.
Firstly, identify your peripherals. These can include your keyboard, mouse, printer, and external hard drive. Basically, any device connected to your PC.
Secondly, disconnect all non-essential peripherals. This means you should leave only the keyboard and mouse connected. If your PC is a laptop, you might not need to disconnect anything.
Next, check if the hardware problem persists. If it’s resolved, one of the disconnected peripherals was likely causing the issue.
Moreover, to identify the problematic peripheral, reconnect them one by one. After connecting each device, check if the problem returns. This can help you identify the culprit.
Furthermore, if you identify a problematic peripheral, check its drivers. Updating the drivers might resolve the issue. If not, you might need to replace the peripheral.
10. Seeking Professional Help
Finally, let’s discuss seeking professional help. While DIY troubleshooting can resolve many issues, some problems require expert attention. So, let’s explore when and why to seek professional PC repair.
Firstly, if your troubleshooting efforts don’t resolve the issue, it’s time to call a professional. They have the expertise and tools to diagnose and fix complex problems.
Secondly, if you’re uncomfortable performing certain tasks, don’t hesitate to seek help. Tasks like updating the BIOS or replacing hardware can be risky if not done correctly.
Next, remember that professional PC repair can save you time. While DIY troubleshooting can be educational, it can also be time-consuming. Professionals can often resolve issues more quickly.
Moreover, professionals can provide preventative maintenance. They can identify potential issues before they become serious problems. This can save you from future headaches.
FAQs about PC Repair
How do I troubleshoot my computer problems?
Troubleshooting computer problems involves a series of steps:
- Identify the problem: Understand the symptoms your computer is showing. Is it slow? Does it crash often? Is there a specific error message?
- Research the problem: Use the symptoms or error messages to research possible causes. Online tech forums and guides can be helpful.
- Try simple solutions first: This could include restarting your computer, checking your internet connection, or making sure all cables are properly connected.
- Use built-in troubleshooting tools: Most operating systems have built-in tools to help diagnose and fix problems.
- Update your software: Make sure your operating system and all drivers are up-to-date.
- Scan for malware: Use a reputable antivirus program to scan your computer for malware.
- Seek professional help: If you’re unable to resolve the issue yourself, consider seeking professional PC repair.
How do I run a repair on my computer?
Running a repair on your computer depends on the specific issue. However, most operating systems have built-in repair tools. For Windows, you can use the System File Checker tool by opening Command Prompt as an administrator and typing “sfc /scannow”. For macOS, you can use Disk Utility’s First Aid tool.
How do I run a system repair in Windows 10?
To run a system repair in Windows 10, follow these steps:
- Restart your computer. As it’s booting up, hold down the Shift key.
- This will bring up the Windows Recovery Environment. Click on “Troubleshoot”.
- From there, click on “Advanced options”, then “Startup Repair”.
- You’ll be prompted to choose an account to continue. Select your account and enter your password.
- The Startup Repair tool will then start diagnosing your system and repairing any issues it finds.
Why is my PC not auto repairing?
If your PC is not auto repairing, it could be due to several reasons. The issue could be a corrupted system file, a faulty driver, or a hardware issue. To resolve this, you might need to run a system repair manually, update your drivers, or check your hardware. If these steps don’t resolve the issue, consider seeking professional PC repair.
Conclusion
In conclusion, troubleshooting common hardware problems doesn’t have to be daunting. With the right knowledge and tools, you can resolve many issues yourself. From checking for loose connections to updating your BIOS, these steps can help keep your PC running smoothly. However, remember that some problems require professional attention.
If you’re in Singapore and need expert help, VOLTA PC Upgrade & Repair is here for you. With our experienced team and commitment to customer satisfaction, we can help you navigate any desktop repair issue. So, the next time you encounter a hardware problem, don’t hesitate to reach out to us.
Address:
- Tai Seng Branch: 8 Burn Road #01-04, Trivex, Singapore 369977
- Jurong Branch: Blk 132 #01-279C, Jurong Gateway Road, Singapore 600132