Easy Guide to Computer Repair: How to Fix Wi-Fi Disconnects
In this Swift Computer Repair Guide, we’ll help you tackle Wi-Fi disconnection issues head-on. From preliminary checks to advanced troubleshooting, we’ll walk you through various solutions that will get you back online in no time.
Preliminary Checks
1. Ensure Wi-Fi is Enabled on the Computer
Before diving into complex solutions, let’s start with the basics. Firstly, check if Wi-Fi is enabled on your computer. At times, it could be accidentally turned off, causing disconnection. For example, look for a Wi-Fi button on your laptop or ensure it’s enabled in the settings.
2. Verify Wi-Fi Signal Strength
Next, verify the Wi-Fi signal strength. In other words, ensure your computer is within range of the router. If you’re too far away, the signal may be weak, causing disconnection. So, try moving closer to the router or reposition it for better coverage.
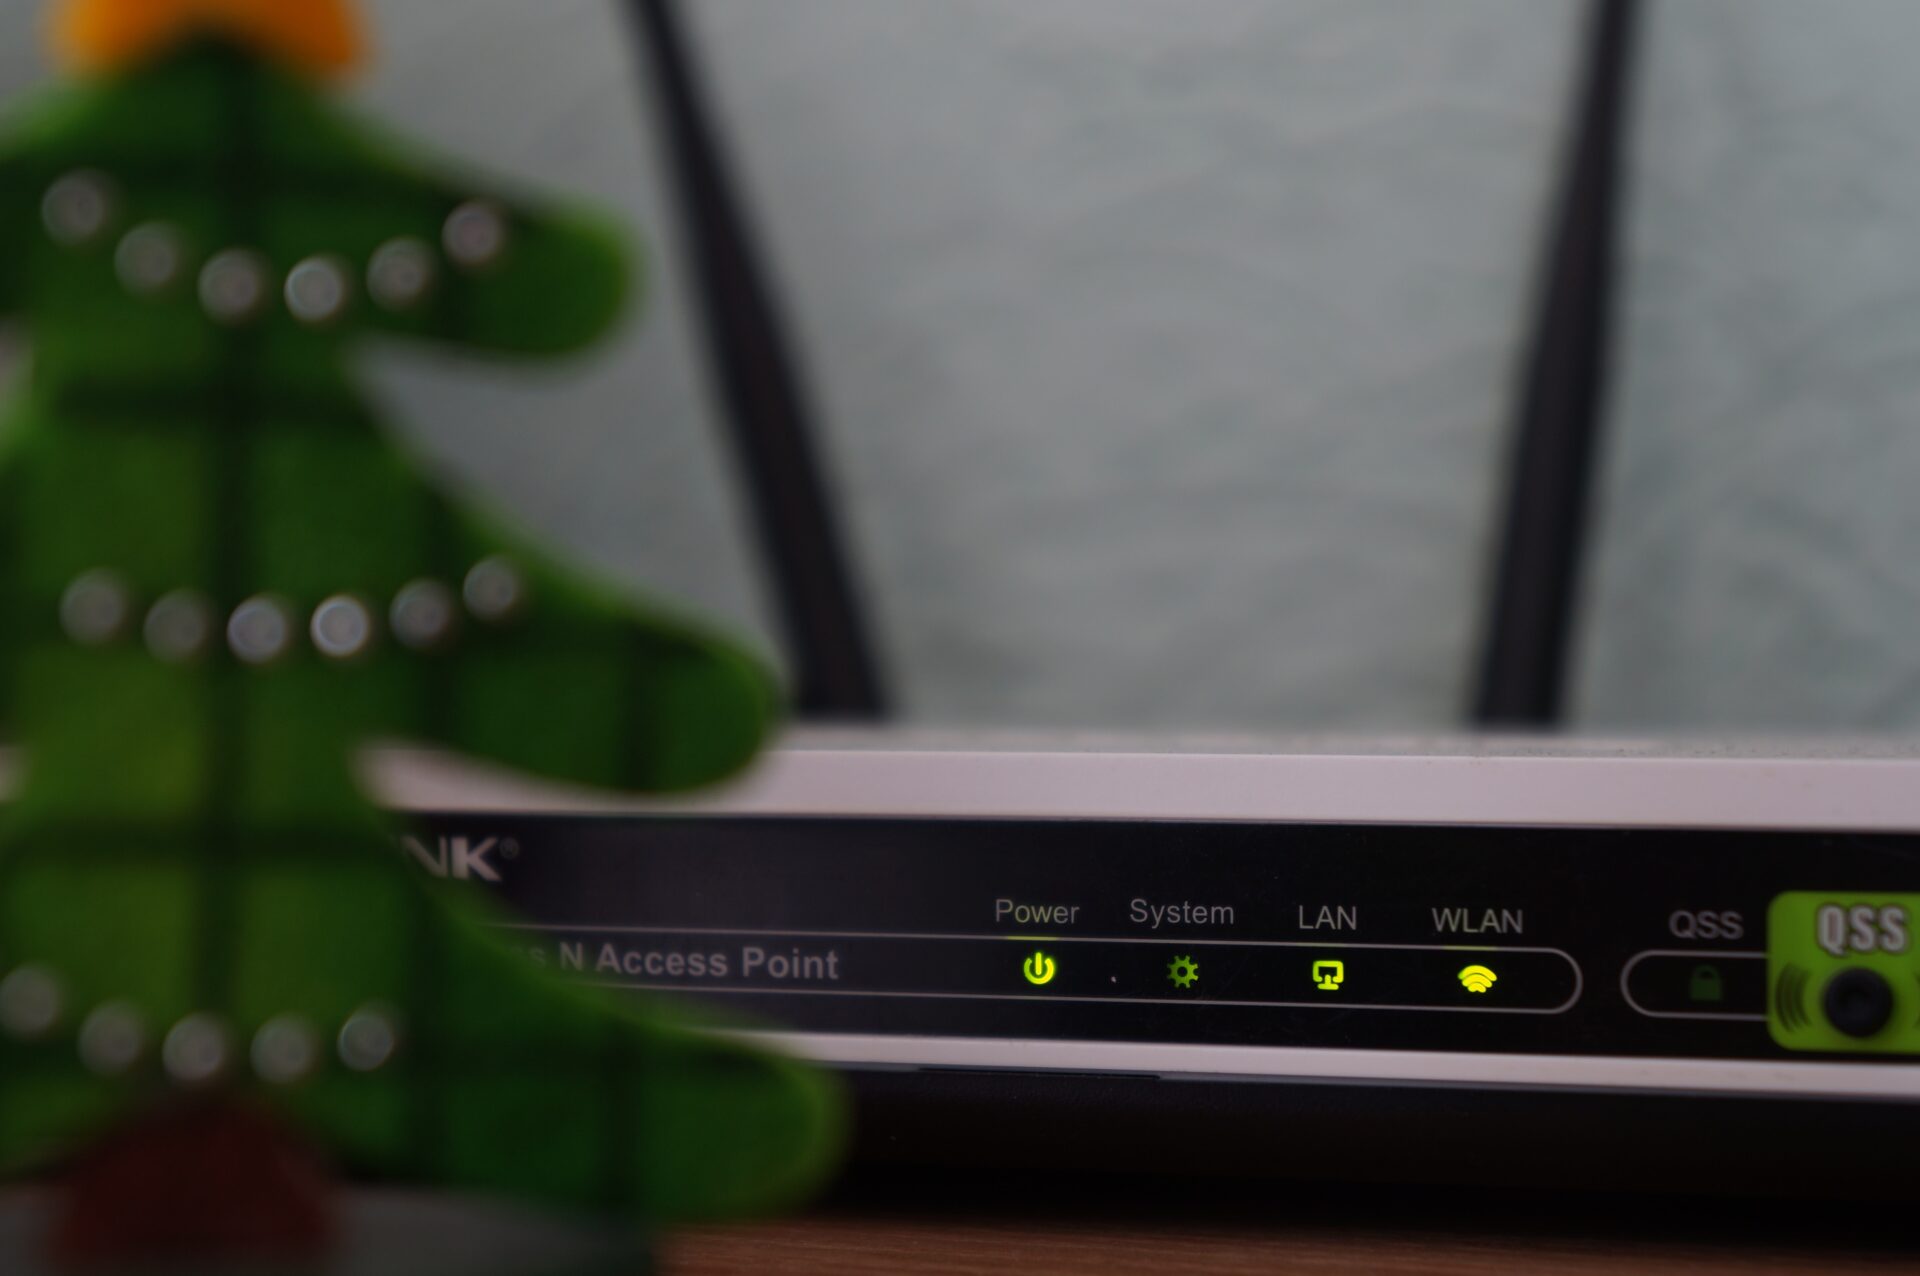
If you have a modern mobile phone with you (we are talking about Android or IOS phone), you can install applications like Android WIFI ANALYZER or IOS Network Analyzer to check that the wifi router is indeed working.

Wifi Channels Display
3. Check for Wi-Fi Network Congestion
Wi-Fi network congestion can also cause disconnection problems. For instance, multiple devices connected to the same network may slow it down. As a result, your computer might struggle to maintain a stable connection. To clarify, consider disconnecting other devices or upgrading your internet plan for more bandwidth.
4. Test the Connection with Another Device
Finally, test the connection with another device. By doing so, you can determine if the issue is specific to your computer or a general network problem. For example, if other devices connect without issues, the problem likely lies with your computer. On the other hand, if all devices have trouble, it could be a network issue.
Basic Troubleshooting
- Restart the Computer: First and foremost, restart your computer. Surprisingly, this simple action can resolve many connectivity issues. In essence, a restart clears temporary files and resets the system, often fixing minor glitches. So, give it a try before moving on to more advanced solutions.
- Reconnect to the Wi-Fi Network: Another basic step is to reconnect to the Wi-Fi network. In short, disconnect from the network and reconnect after a few seconds. This process can refresh the connection, possibly resolving any disconnection problems. Moreover, it can help identify whether the issue is with the network or your computer.
- Reset the Modem and Router: Now, let’s focus on your modem and router. In some cases, these devices may need a reset to function properly. To do this, unplug both devices from the power source. After that, wait for about 30 seconds, then plug them back in. In many cases, this simple reset can restore a stable Wi-Fi connection.
Swift Computer Repair Guide for Wi-Fi Disconnection Fixes
1. Update Wi-Fi Adapter Driver
Drivers play a crucial role in ensuring your computer function properly. In other words, outdated or faulty drivers can cause connectivity issues. Consequently, keeping your Wi-Fi adapter driver up-to-date is important for a stable connection.
To check and update your Wi-Fi adapter driver, follow these steps:
- Press the Windows key + X and select ‘Device Manager.’
- Next, expand the ‘Network adapters’ category.
- Locate your Wi-Fi adapter, right-click on it, and choose ‘Update driver.’
- After that, select ‘Search automatically for updated driver software.’
- Finally, follow the on-screen instructions to complete the process.
In short, updating your Wi-Fi adapter driver can potentially fix any disconnection issues you’re experiencing.
2. Adjust Power Management Settings
Power management settings can impact Wi-Fi connectivity. Specifically, some computers are set to save power by turning off the Wi-Fi adapter when idle. Unfortunately, this feature can cause unwanted disconnections. Therefore, adjusting these settings can help maintain a stable connection.
To disable power-saving mode for the Wi-Fi adapter, follow these steps:
- Firstly, press the Windows key + X and select ‘Device Manager.’
- Then, expand the ‘Network adapters’ category.
- Right-click on your Wi-Fi adapter and choose ‘Properties.’
- After that, go to the ‘Power Management’ tab.
- Uncheck the box that says ‘Allow the computer to turn off this device to save power.’
- Finally, click ‘OK’ to save the changes.
By disabling power-saving mode, you can prevent the Wi-Fi adapter from turning off automatically, reducing disconnections.
3. Change Wi-Fi Frequency
Wi-Fi networks operate on two frequency bands: 2.4 GHz and 5 GHz. In short, the 2.4 GHz band provides a longer range but slower speeds, while the 5 GHz band offers faster speeds but a shorter range. Sometimes, switching between these frequencies can help resolve disconnection issues.
To switch between Wi-Fi frequencies, follow these steps:
- Firstly, click the Wi-Fi icon on your taskbar.
- Then, open the list of available Wi-Fi networks.
- Look for your network name, which should appear twice (once for each frequency).
- Finally, choose the alternative frequency to connect to (e.g., if you’re on 2.4 GHz, switch to 5 GHz).
In conclusion, switching between frequencies can improve your Wi-Fi connection and reduce disconnections.
4. Modify Wi-Fi Adapter Settings
Wi-Fi adapter settings can significantly impact connectivity. In other words, some settings might not be optimal for your specific network or environment. As a result, adjusting these settings can help enhance performance and reduce disconnections.
To adjust your Wi-Fi adapter settings for optimal performance, follow these steps:
- Firstly, press the Windows key + X and select ‘Device Manager.’
- Then, expand the ‘Network adapters’ category.
- Right-click on your Wi-Fi adapter and choose ‘Properties.’
- After that, navigate to the ‘Advanced’ tab.
- Here, you’ll find various settings, such as ‘Roaming Aggressiveness’ and ‘Transmit Power.’
- Adjust these settings as needed (e.g., set ‘Roaming Aggressiveness’ to ‘Low’ or ‘Transmit Power’ to ‘Highest’).
- Finally, click ‘OK’ to save the changes.
In short, modifying your Wi-Fi adapter settings can help enhance your connection and reduce the chances of disconnection.
5. Check for Malware or Viruses
Malware and viruses can negatively affect Wi-Fi connectivity. In particular, these malicious programs can consume network resources, slow down connections, or even disconnect devices. Consequently, scanning for and removing any threats is crucial for maintaining a stable connection.
To scan your computer for malware and viruses, follow these steps:
- Firstly, make sure you have a reliable antivirus program installed on your computer.
- Then, open the antivirus program and run a full system scan.
- After that, the program will detect and quarantine any potential threats.
- Lastly, follow the antivirus software’s instructions to remove or repair the infected files.
In essence, keeping your computer free of malware and viruses can help ensure a stable Wi-Fi connection and protect your device’s overall health.
Contact Computer Repair Shop
Despite trying all the troubleshooting steps mentioned above, you might still face Wi-Fi disconnection issues. In such cases, it’s best to seek professional assistance for computer repair. For instance, the problem could be more complex or require specialized knowledge to resolve.
When contacting technical support, follow these tips to ensure a smooth and efficient experience:
- Firstly, gather all relevant information about your computer and Wi-Fi network. In other words, have details like the make and model of your device, the router’s brand, and your internet service provider (ISP) handy.
- Next, document the troubleshooting steps you’ve already tried. As a result, the technician can avoid suggesting redundant solutions.
- Finally, be patient and cooperative with the support representative. They’re there to help you and will do their best to repair your computer.
By following these tips, you can increase the likelihood of the computer repair, ultimately, resolve your Wi-Fi disconnection problem.
Conclusion
In summary, this blog post covered various solutions for fixing a computer that keeps disconnecting from Wi-Fi. We discussed preliminary checks, basic troubleshooting, and more advanced steps, such as updating drivers and adjusting settings.
We encourage you to try these solutions to fix your Wi-Fi disconnection issues. With a bit of effort, you can likely restore your stable internet connection and get back to your online activities seamlessly.
Lastly, we invite you to share your experiences and ask questions in the comments section below. By doing so, you can help others facing similar problems and contribute to a community of problem-solvers.
Contact Us for Computer Repair & Upgrade
Are you still experiencing Wi-Fi disconnection issues or have other computer repair concerns? Don’t hesitate to reach out to VOLTA PC Upgrade & Repair (FKA Budget PC) in Singapore. Our experts are ready to help you with all your computer repair needs. Additionally, they offer a complimentary diagnostic. Contact us today for swift, reliable assistance!