
Guide to Laptop Screen Repair in Singapore
Diagnosing Common Laptop Screen Problems That sinking feeling when your laptop screen glitches or goes dark is familiar to many. One moment you are working,
The image depicts a person in the process of disassembling a laptop.
The CPU has a gray, patchy substance on its surface, which appears to be old or improperly applied thermal paste that may need cleaning or replacement.
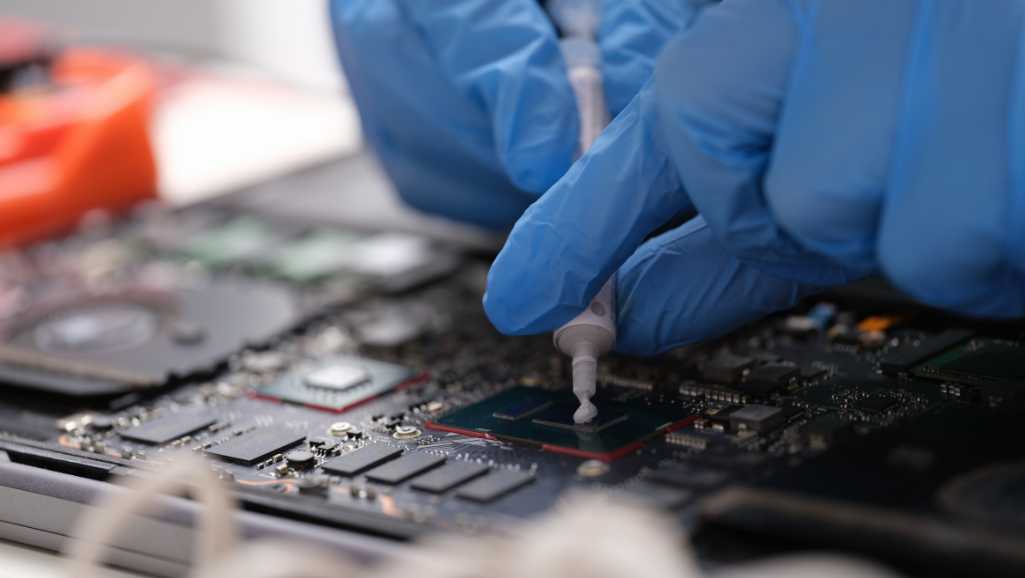
hand holding a syringe filled with thermal paste, poised to apply the substance to a central chip on a laptop’s motherboard.
the aftermath of applying thermal paste, with a spreader tool being used to evenly distribute the paste over the surface of a laptop’s CPU. The paste is neatly spread in a thin layer, indicating a proper application technique.
Diagnosing Common Laptop Screen Problems That sinking feeling when your laptop screen glitches or goes dark is familiar to many. One moment you are working,
Asus Laptop Screen Not Working? Here’s How to Diagnose and Fix It Laptop screen issues can be frustrating, especially when your device powers on but
Data Recovery from Damaged USB Drives: Step by Step Guide In an age where everything is digitised, USB flash drives remain a common storage medium