
Ultimate Guide To Fix HP Laptop Cooling Fan Not Working
When your HP laptop’s cooling fan is not working, it can lead to overheating issues that may affect the performance and lifespan of your device.
Maintaining a consistent airflow is essential for the longevity and performance of your laptop. Factors such as ambient temperature can influence the fan’s responsiveness and effectiveness.Regular cleaning of the fan is not just about removing dust; it’s about sustaining the fan’s ability to perform these critical functions. As the fan works to regulate the temperature, it also helps to keep noise levels down, contributing to a quieter working environment.
Regular cleaning of the laptop fan is essential to maintain optimal thermal management and to prevent the issues associated with dust accumulation. By keeping the fan clean, you ensure that your laptop runs quietly and efficiently, thereby extending its service life.
By keeping the fan clean, you not only safeguard the laptop’s internal components but also potentially extend the life of your laptop, making it a worthwhile routine to adopt.
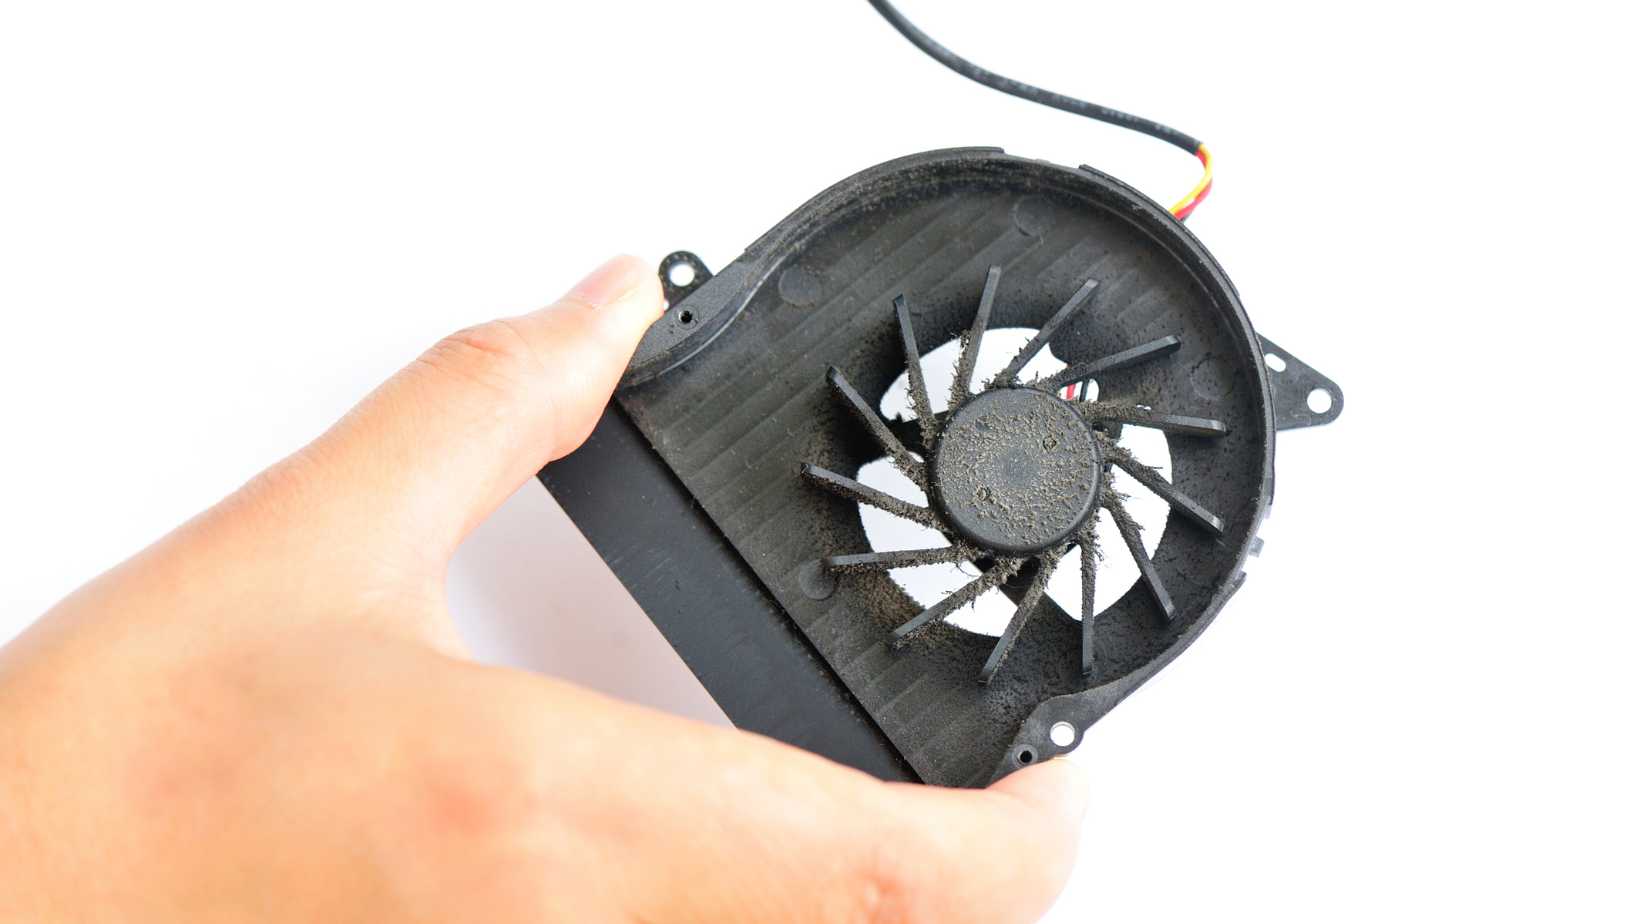
a close-up of a dusty laptop fan within an opened laptop case. The dust accumulation is significant, covering the fan blades and surrounding areas. The laptop’s interior parts are visible, including a portion of the motherboard and various connectors.
Overheating can also cause the laptop to shut down unexpectedly to protect the hardware. It’s a clear warning that the cooling system needs attention.If you notice that your laptop feels hot to the touch or the temperature monitoring software shows higher than normal readings, it’s time to inspect the fan. Below is a list of common causes of cooling issues:
A noisy fan is often a precursor to more serious issues, such as overheating and system instability. Regular maintenance can prevent these problems.To address a loud laptop fan, consider the following steps:
Keeping the fan clean helps maintain the system’s stability and prevents unexpected shutdowns or performance hiccups.Another indicator of a fan in need of cleaning is the presence of error messages related to thermal events or hardware monitoring. These messages can often be traced back to overheating issues caused by a clogged fan. Regular maintenance of the fan can help avoid these problems and extend the life of your laptop.
It’s important to use tools that are specifically designed for electronic devices to prevent damage to your laptop’s components.Ensure you have a clean, well-lit workspace to operate in. Keep your tools organized and within reach to avoid any unnecessary interruptions during the cleaning process.
Remember, patience and attention to detail are key. Rushing through the cleaning process can lead to mistakes that might harm your laptop or its fan.
It’s crucial to handle the internal components with care to prevent any damage. Touching the internal parts without proper grounding can cause static damage to the sensitive electronics.Once you have access to the fan, you can assess the amount of dust accumulation and decide on the best cleaning method. If the fan is heavily soiled, it may be necessary to remove it for thorough cleaning. However, as noted in a Thinkpads Forum, you can usually clean the fan effectively without removing it by using compressed air to blow out the dust.
Remember, be gentle with the fan components to avoid damage. The goal is to remove dust without causing harm to the delicate parts.After cleaning, ensure that no liquid remains and that all parts are dry. Recheck the fan’s movement to make sure it spins freely without obstruction. If everything looks clear, you’re ready to move on to reassembling your laptop.
After reassembling, it’s advisable to power on the laptop and check for any unusual noises or errors. This immediate test can help catch any reassembly mistakes before they cause problems.Finally, keep in mind that regular maintenance can significantly extend the life of your laptop. A clean fan ensures optimal cooling, which is crucial for the performance and longevity of your device.
When your HP laptop’s cooling fan is not working, it can lead to overheating issues that may affect the performance and lifespan of your device.
Is your MacBook’s fan persistently whirring like a turbo engine about to blast off? Do you have to barricade it with pillows to dampen the
Welcome to our comprehensive blog post on ‘How to Test Your Laptop Fan.’ In today’s fast-paced digital world, your laptop is more than just a