Can Super Glue Really Save Your Laptop Hinge
Can Super Glue Really Save Your Laptop Hinge? Welcome to the dynamic world of laptop maintenance, specifically focusing on the critical aspect of laptop hinge
When it comes to laptop hinge repair, a solid understanding of the types of damage is crucial. This knowledge not only aids in accurately diagnosing the issue but also in determining the most effective method to fix the laptop hinge. Hinge problems, often underestimated, can significantly impact your laptop’s usability and longevity.
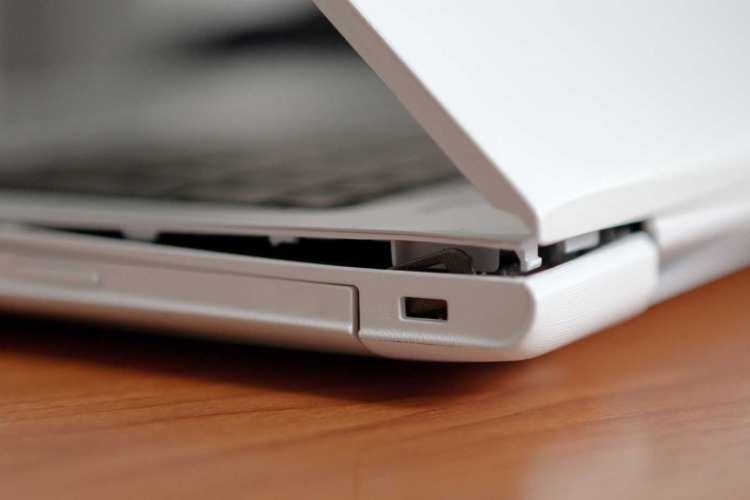
This issue, commonly encountered, manifests as a screen that wobbles or doesn’t stay put. It usually signals that the hinge screws need tightening, a relatively simple fix in the realm of laptop hinge repair. However, regular use and the age of the device can wear out these screws, making the problem more frequent.
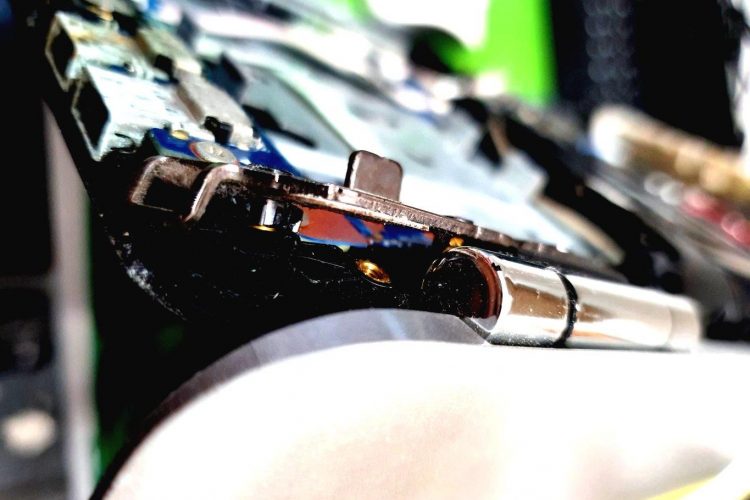
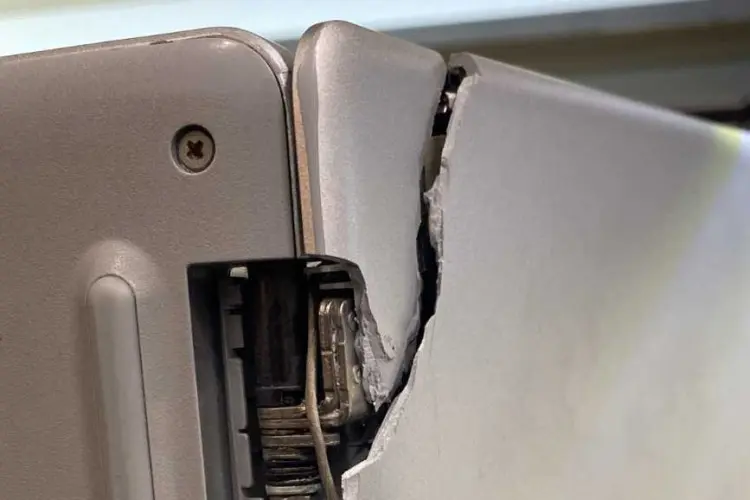
This type of damage is unmistakable. You might notice visible cracks or breaks in the hinge assembly, and in extreme cases, the screen may not stay upright at all. Such damage demands a more comprehensive approach to fix the laptop hinge, often involving replacement parts.
They restrict the laptop’s lid movement, making it difficult to open or close. This issue usually stems from a lack of lubrication or debris buildup. Addressing it involves cleaning and possibly lubricating the hinge mechanism.
Each type of damage requires a tailored approach to repair. While super glue can offer a quick fix, particularly for minor cracks or breaks, understanding the extent of the damage is key. A superficial fix might provide a temporary solution, but it may not address underlying issues that could lead to further damage.
Therefore, before diving into laptop hinge repair, take a moment to assess the situation. A quick inspection can save you time and ensure that your repair method aligns with the specific needs of your laptop. Remember, the goal is not just to fix the laptop hinge but to restore the device’s functionality and reliability for the long haul.
Embarking on laptop hinge repair can seem daunting, but with the right approach, it’s a manageable task. Here are some effective methods to fix laptop hinges, each suited to different types of damage.
Loose hinges are a common issue but often have a straightforward fix. You’ll typically need a screwdriver for this. Start by gently opening the laptop to access the hinge screws, which are usually visible on the back of the laptop. Tighten these screws carefully, ensuring not to overtighten them as this can strip the threads. This method is ideal for hinges that have become loose over time due to regular use.
Assess the Damage
Before you start, assess the extent of the crack. Small, clean cracks are more likely to be successfully repaired than large, jagged ones. This assessment will guide you in choosing the right adhesive and method.
Gather Your Materials
For this repair, you will need high-quality super glue or a specialized plastic adhesive. Additionally, gather fine sandpaper, a small brush or toothpick for application, and cleaning alcohol or a similar solvent.
Prepare the Area
Turn off your laptop and disconnect it from any power sources. Clean the cracked area with alcohol to remove any dirt or grease. This step ensures the glue adheres properly to the surface.
Apply the Adhesive
Apply a small amount of glue on one side of the cracked area using the brush or toothpick. Be precise and controlled in your application to avoid excess glue that can seep into the laptop’s internals or hinder the hinge’s movement.
Clamp the Crack
After applying the adhesive, press the cracked sides together and hold firmly. You can use a clamp or tape to keep the parts tightly joined while the glue dries. Follow the glue manufacturer’s recommended drying time for the best results.
Finishing Touches
Once the glue is completely dry, gently sand the repaired area to smooth any rough edges. Be careful not to apply too much pressure, which could reopen the crack.
Testing and Caution
After the repair, gently open and close the laptop to test the hinge’s movement. The repair should hold, but be aware that this fix may not withstand the same stress as the original material. Treat the repaired area with extra care to avoid future breaks.
Seek Professional Help if Needed
If the crack is too large or if you’re not confident in your ability to repair it, seek professional help. Sometimes, a replacement of the part might be more effective than a repair.
For hinges with a cracked plastic housing, super glue can be a temporary solution. After powering down and safely opening your laptop, locate the cracked area around the hinge. Clean the area thoroughly, then apply super glue with precision to avoid excess spillage. Hold the parts firmly until the glue sets. This fix is best for minor cracks and should not be considered a permanent solution for severe damage.
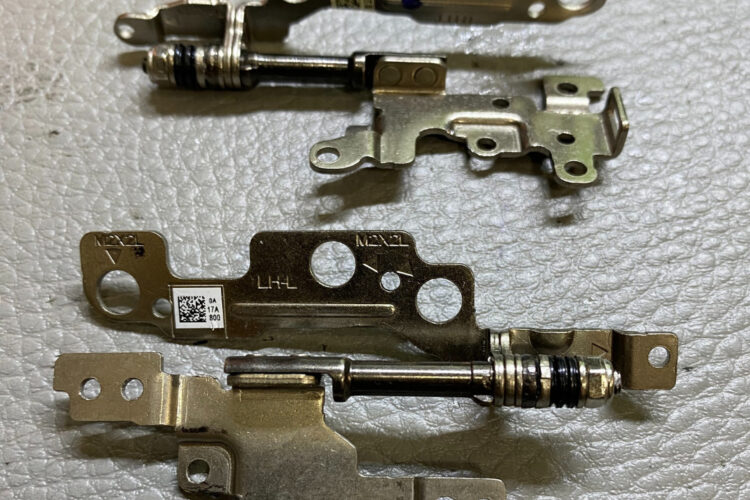
First, determine the exact model of your laptop. Using this information, purchase the appropriate replacement hinges. You can find these either through your laptop’s manufacturer or from reputable online retailers. Ensure the hinges are specific to your model for a perfect fit.
Prepare a workspace with a small screwdriver set, including Phillips and flat-head types, and possibly a pry tool. Keep a container handy to hold screws and small parts.
Power off your laptop and disconnect all power sources. Remove the battery if possible. Start by carefully removing the screws from the laptop’s bottom. Keep track of each screw and where it belongs, as they might differ in size.
Gently pry open the laptop casing or bezel to access the hinges. This step may vary depending on your laptop model. Once you’ve exposed the hinges, carefully unscrew and remove them. Pay attention to how they’re fitted, as you’ll need to replicate this with the new hinges.
Position the new hinges exactly where the old ones were located. Screw them in place, ensuring they’re tight but not overly so to prevent damaging the screw threads or the laptop’s casing.
Carefully reassemble your laptop by reversing the disassembly steps. Ensure all components are correctly aligned and screws are returned to their original places.
Once reassembled, gently open and close the laptop to test the new hinges. They should allow smooth movement without any wobble or stiffness.
If you’re unsure about any step in this process or uncomfortable with disassembling your laptop, it might be best to consult a professional. Improper installation can lead to further damage.
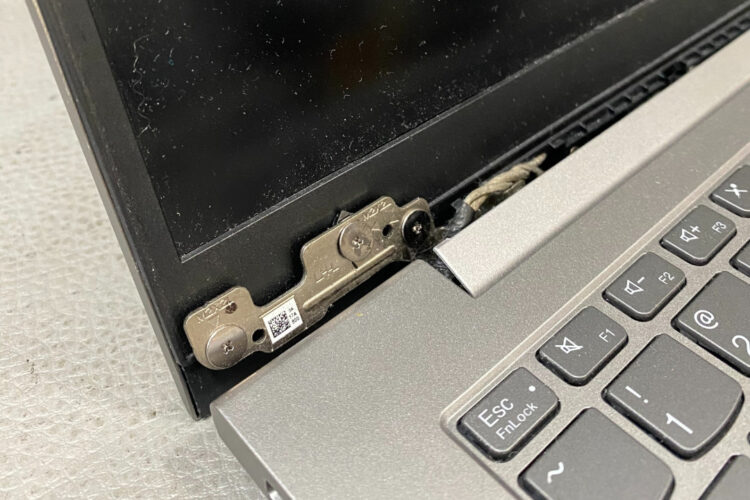
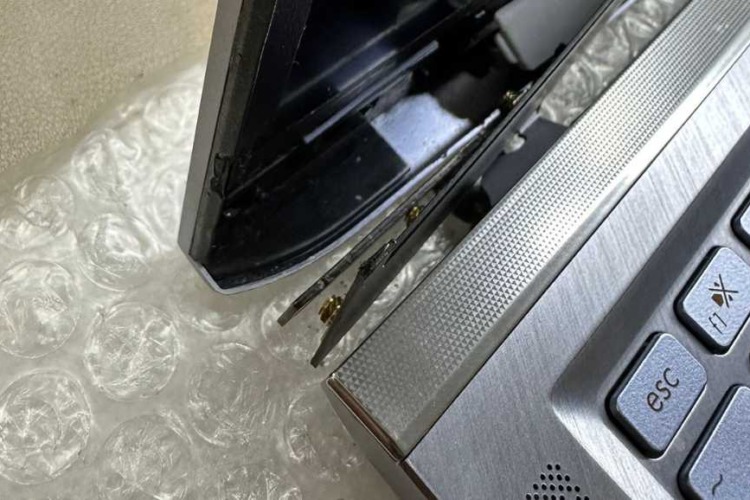
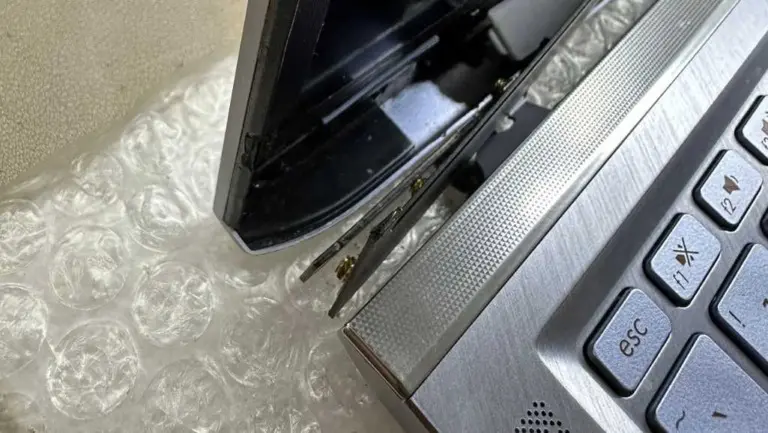
In cases where the metal part of the hinge is broken, replacement is often necessary. Begin by purchasing the correct replacement hinges for your laptop model. You will need to disassemble the part of your laptop that houses the hinges, which usually involves removing several screws and carefully detaching the screen from the base. Replace the broken hinge with the new one, ensuring everything aligns correctly, and then reassemble your laptop. This method requires a bit more technical skill and patience but is a reliable solution for serious hinge damage.
First, determine the exact model of your laptop. Using this information, purchase the appropriate replacement hinges. You can find these either through your laptop’s manufacturer or from reputable online retailers. Ensure the hinges are specific to your model for a perfect fit.
Prepare a workspace with a small screwdriver set, including Phillips and flat-head types, and possibly a pry tool. Keep a container handy to hold screws and small parts.
Power off your laptop and disconnect all power sources. Remove the battery if possible. Start by carefully removing the screws from the laptop’s bottom. Keep track of each screw and where it belongs, as they might differ in size.
Gently pry open the laptop casing or bezel to access the hinges. This step may vary depending on your laptop model. Once you’ve exposed the hinges, carefully unscrew and remove them. Pay attention to how they’re fitted, as you’ll need to replicate this with the new hinges.
Position the new hinges exactly where the old ones were located. Screw them in place, ensuring they’re tight but not overly so to prevent damaging the screw threads or the laptop’s casing.
Carefully reassemble your laptop by reversing the disassembly steps. Ensure all components are correctly aligned and screws are returned to their original places.
Once reassembled, gently open and close the laptop to test the new hinges. They should allow smooth movement without any wobble or stiffness.
If you’re unsure about any step in this process or uncomfortable with disassembling your laptop, it might be best to consult a professional. Improper installation can lead to further damage.
For a stronger bond than super glue, especially in cases of significant breakage, epoxy or industrial-strength adhesives can be effective. Prepare the broken hinge area by cleaning it thoroughly. Apply the adhesive according to the manufacturer’s instructions, usually mixing two components before application. Hold or clamp the pieces until the adhesive sets completely, which can take several hours. This method is more robust than super glue but still may not withstand long-term wear and tear like a mechanical fix would.
Epoxy and industrial-strength adhesives are known for their strong bonding capabilities. Choose a product designed for metal and plastic, ensuring compatibility with your laptop’s materials. Epoxy that comes in two parts (resin and hardener) is often recommended for its durable bond.
Ensure a well ventilated and clean workspace. Lay down protective sheets to prevent any spills or drips on surfaces.
Power down and unplug your laptop. Remove the battery if possible. Clean the hinge area with alcohol or a similar solvent to remove grease or dirt. This step is crucial for the adhesive to bond effectively.
If you’re using a two-part epoxy, mix the resin and hardener as per the manufacturer’s instructions. Ensure the mixture is even for optimal strength.
Apply the epoxy to the broken parts of the hinge using a small tool like a toothpick or a disposable brush for precision. Be cautious not to apply too much, as excess adhesive can seep out and hinder the hinge’s movement or damage other parts of the laptop.
After applying the adhesive, align the broken parts and hold them together. Use a clamp or tape for a secure bond. Allow the adhesive to cure for the time specified by the manufacturer, which can vary from a few hours to overnight.
Once the adhesive is fully cured and the hinge is firmly bonded, reassemble any parts of the laptop that were disassembled. Test the hinge’s functionality by gently opening and closing the laptop, ensuring the repair holds and the movement is smooth.
If you’re not confident in your ability to perform this repair or if the damage seems too complex, it’s advisable to consult a professional like Volta PC Upgrade & Repair. Incorrect application of epoxy can cause further damage.
In all these methods, the key is to work carefully and methodically. Ensure your workspace is clean and organized, and keep track of all screws and parts. If you’re not confident in your ability to safely disassemble and reassemble your laptop, seeking professional help is advisable. The right fix can extend the life of your laptop significantly, making the effort well worth it. Remember, each laptop model may have specific instructions for hinge repair, so consulting your laptop’s manual or manufacturer’s website can provide additional guidance.
Note:
While we provide guidance on steps you can take to address laptop hinge issues, it is crucial to emphasize the importance of professional repair. Laptop hinges are complex mechanisms that, when damaged, can lead to more serious issues, including screen damage. An improperly repaired hinge can cause stress on the screen and the internal cables, leading to costly damages.
We strongly recommend seeking professional services for a proper repair or replacement of your laptop hinge. Professionals have the necessary tools, parts, and expertise to ensure that the repair is done safely and effectively, which not only saves you from potential additional damage but also ensures the longevity of your laptop’s use.
Can Super Glue Really Save Your Laptop Hinge? Welcome to the dynamic world of laptop maintenance, specifically focusing on the critical aspect of laptop hinge
How To Fix Laptop Hinge: Ultimate Laptop Repair Guide Singapore Laptop hinges are vital to our computing experience, allowing us to open and close our